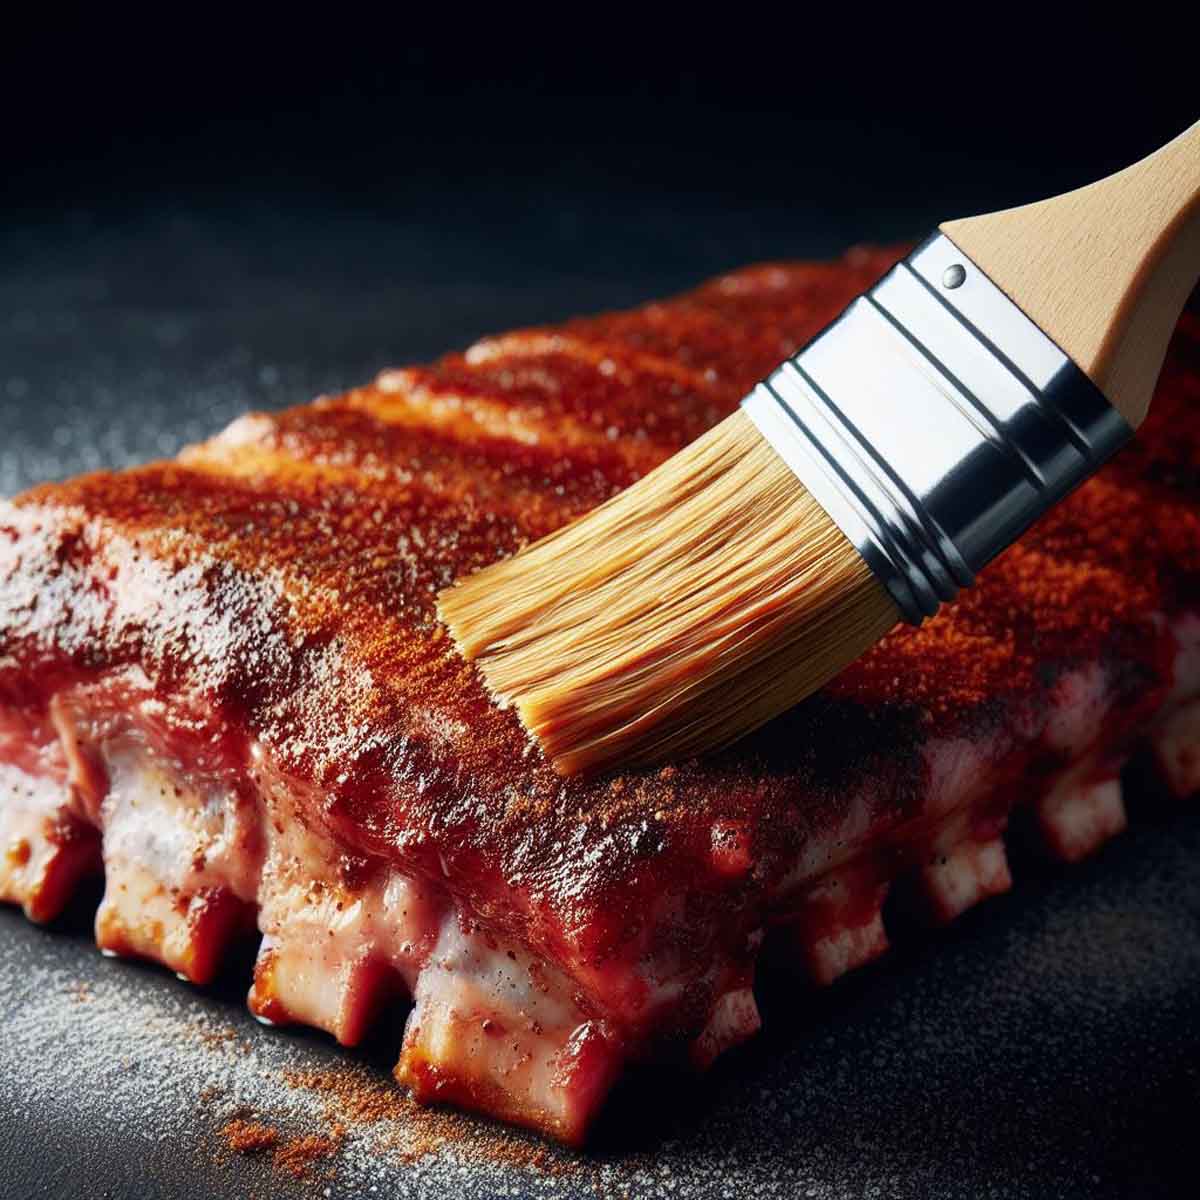
Ribs and rubs go together like summer and sunshine. But you ask, ‘How long should you leave dry rub on BBQ ribs before cooking? With this guide, you’re about to become the rib master of the neighborhood!
Table of Contents
How long to leave dry rub on ribs before cooking? The Quick Answer
If you’re in a rush to get those ribs on the grill, aim for a minimum of 1 hour of marinating time after applying your dry rub. However, for truly exceptional flavor, letting your ribs sit with that rub for 4 to 24 hours will make all the difference, with overnight being the golden standard.

The Mystery of Dry Rubs and Flavorful Ribs
The Essential Dry Rub Lowdown
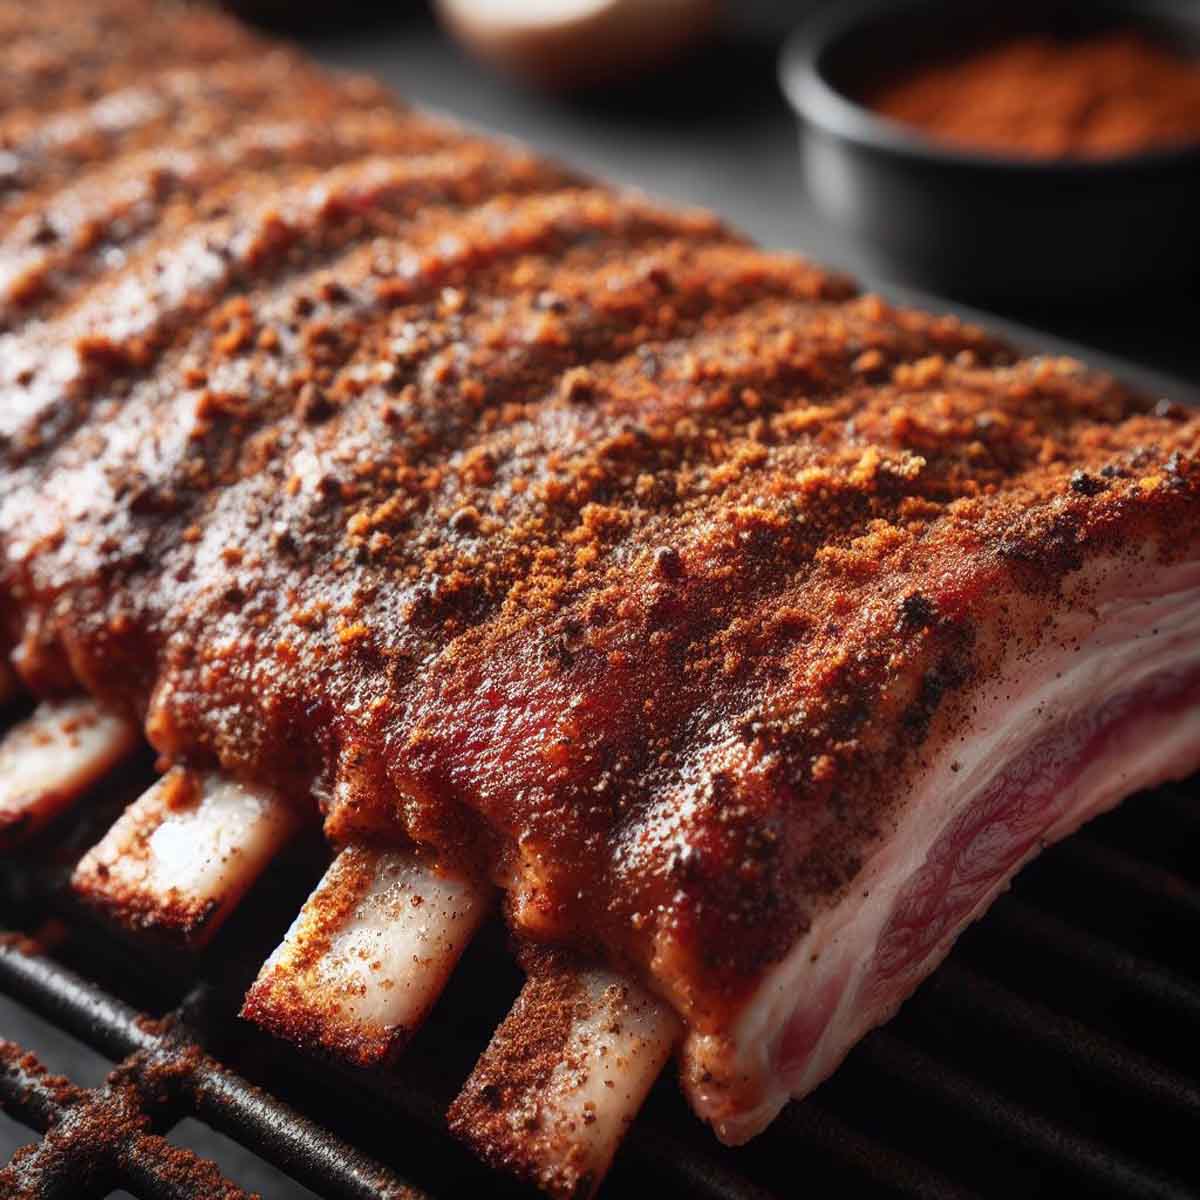
A dry rub is like the fairy dust of the barbecue world—it transforms the ordinary into extraordinary. By massaging a blend of dry spices into your ribs, you create a flavor-packed crust that caramelizes beautifully when cooked.
Typical Dry Rub Ingredients:
- Brown sugar: Balances spices with sweetness and helps with caramelization.
- Salt (Kosher is best): The flavor enhancer.
- Chili powder & Cayenne pepper: For a heat that builds up.
- Garlic & Onion powder: These aromatic all-stars add depth.
- Additional favorites: Black pepper for bite, paprika for smokiness, and cumin for earthiness.
Pro Tip: Dry rubs aren’t just for ribs! This magic mix can elevate almost any meat, from chicken wings to a hearty brisket.

How Timing Affects Taste
Time is a spice in its own right. The longer those ribs sit, the more they soak up every granular nuance of your spice mix. This marinating period allows the salt and sugar to penetrate the meat, tenderizing it and drawing the other spices deep into the fibers.
Pre-Game: Prepping Your Ribs for the Dry Rub Treatment
Picking the Prime Ribs
Racks of ribs come in different shapes, sizes, and flavors:
- Pork ribs are a barbecue staple, with baby back ribs being lean and tender, while spare ribs offer a fattier, juicier chew.
- Beef ribs serve up bolder flavor and pair well with heartier, more robust rubs.
Choosing between pork and beef might be as simple as deciding between a lighter or more intense meaty experience.
The Art of Ribs Preparation
Before the rub comes the rubdown. Here’s how to prep your ribs perfectly:
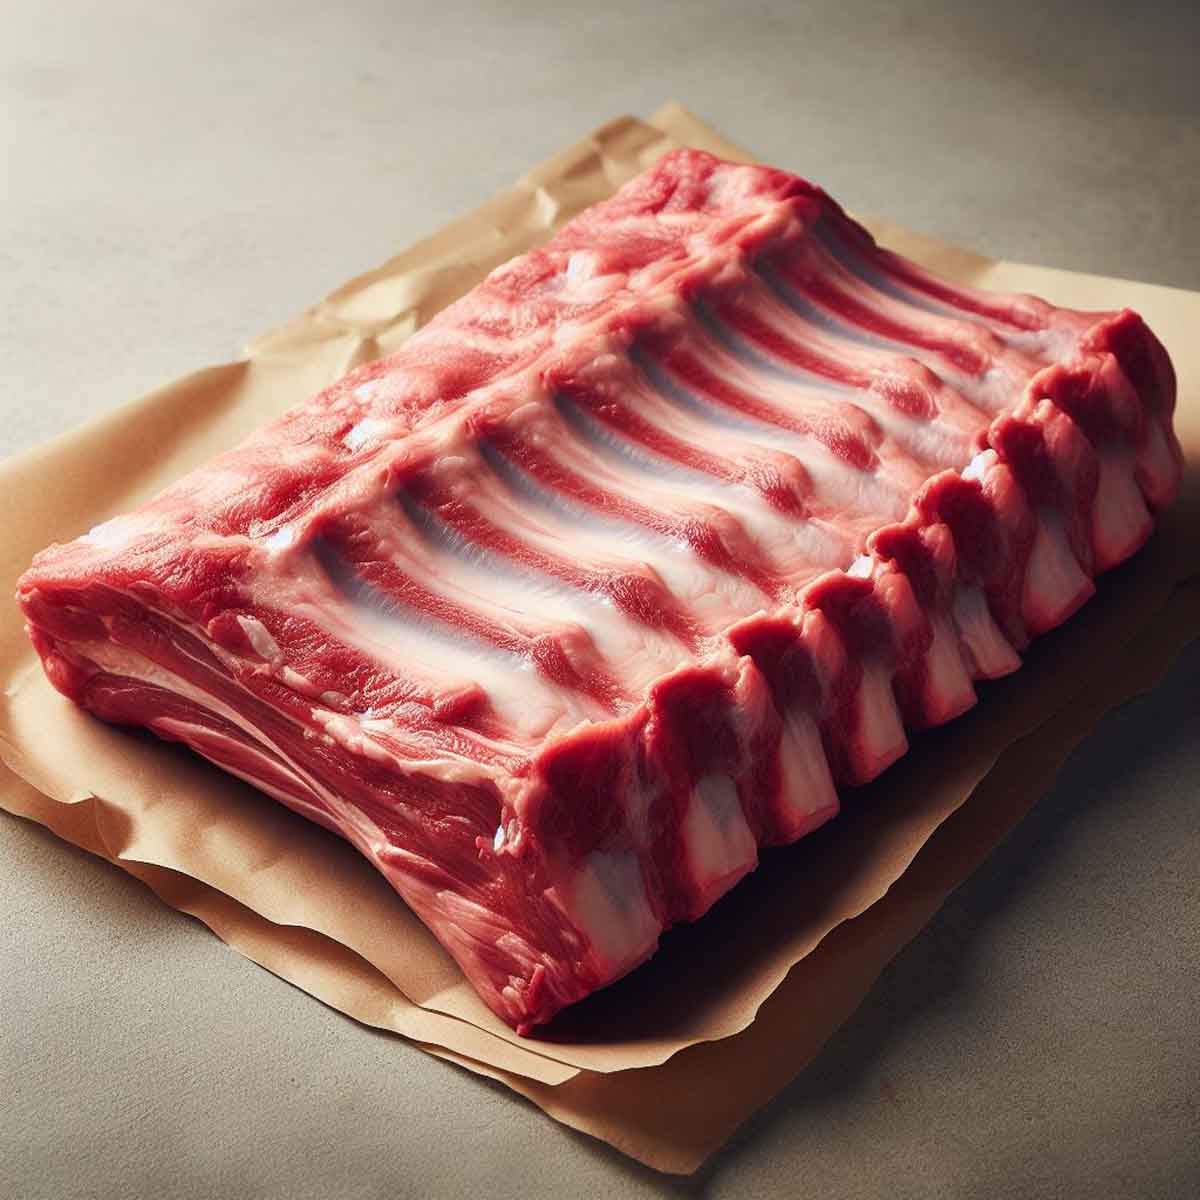
- The best way to start the cooking process is by bringing your ribs to room temperature.
- Pat dry with a paper towel to ensure the dry rub sticks.
- Remove the membrane on the back the ribs with a paring knife—it’s a chewy barrier to flavor.
- Trim any excess fat—you want enough for flavor, but too much can stop the rub from mingling with the meat.
The Right Tools Matter:
- A sharp knife
- Paper towels
- Your trusty spice rub
Creating Your Signature Dry Rub
The Basics of Building a Bold Dry Rub
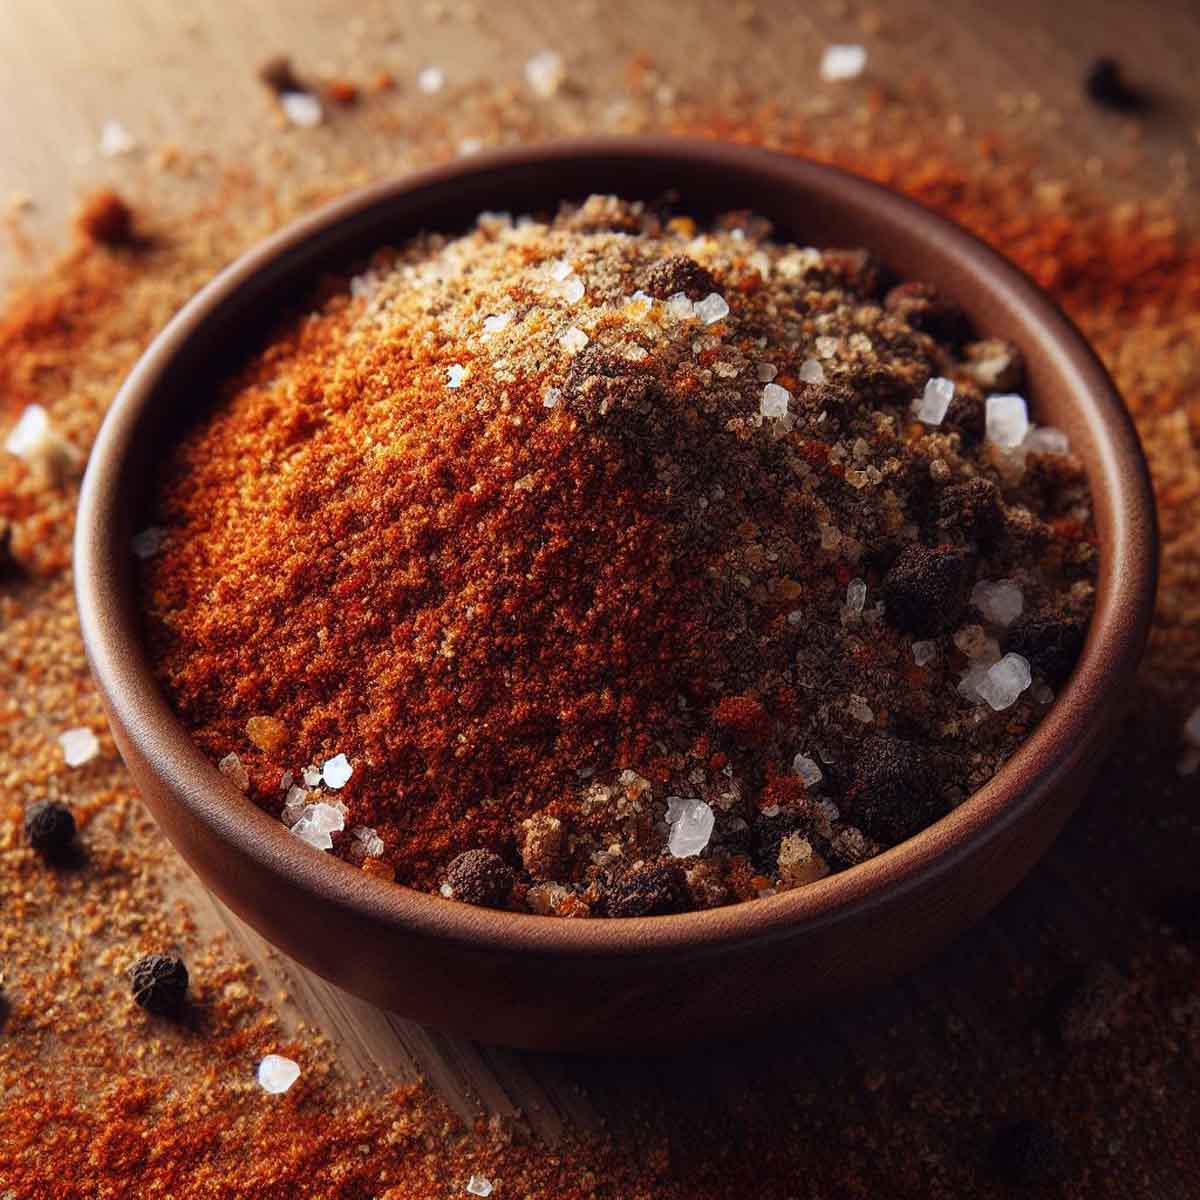
Creating a homemade dry rub means you can tweak and test to your palate’s content. Here’s a reliable dry rub recipe base to start your rib rub journey:
- 1/2 cup brown sugar
- 1/4 cup paprika
- 1 tablespoon black pepper
- 1 tablespoon salt (or kosher salt)
- 1 tablespoon chili powder
- 1 tablespoon garlic powder
- 1 tablespoon onion powder
- 1 teaspoon cayenne pepper (adjust for heat preference)
Mix thoroughly, and avoid lumps—especially from the brown sugar which can clump up.
Spice Blend Secrets: Achieving Perfect Harmony
Finding balance is about understanding how each spice plays with the others. Experiment with ratios to discover what sings to you. Maybe a touch more black pepper or a dash less cayenne? The rib realm is yours to conquer!
Did You Know? Brown sugar in your rub doesn’t just add sweetness—it helps form the prized ‘bark’ on the outside of the meat as it cooks, a signature trait of a great BBQ rib.
Masterful Dry Rub Application: Ensuring Every Rib is Rightly Rubbed
How to Rub Your Ribs Right
Applying dry rub might seem straightforward, but here’s how to do it like a pro:
- Lay your ribs on a clean surface.
- Sprinkle the rub generously over the meat. Don’t forget the sides and the nooks.
- Using your hands, massage the spices into the meat, pressing firmly to adhere the rub.
- Check for even coverage—no spot should be left behind.
- A dab of olive oil over your racks of ribs can help the spices cling better and enhance the flavor.
Remember: A dry rub isn’t just sprinkled on; it’s massaged in. This is what ensures those flavors penetrate the meat, rather than just sitting on the surface. To prevent ending up with dry ribs, be sure to coat each rack evenly with your homemade rib rub.

To Wrap or Not to Wrap?
Once your ribs are covered in rub, should you wrap them up? Here’s the breakdown:
- Plastic Wrap: Creates a seal that locks in the spices and the meat’s natural moisture.
- Aluminum Foil: A sturdier option that also seals in flavor but might stick to a sugary rub.
- Airtight Container: Ideal if you’re worried about wrap sticking to the rub or want an easy cleanup.
Remember: If you choose not to wrap, make sure your ribs are left in a dry place, such as your refrigerator, to marinate properly.
Timing it Just Right: Marinating Your Ribs to Perfection
Finding The Sweet Spot For Marinating Time
Now for the burning question: How long to leave dry rub on ribs before cooking?
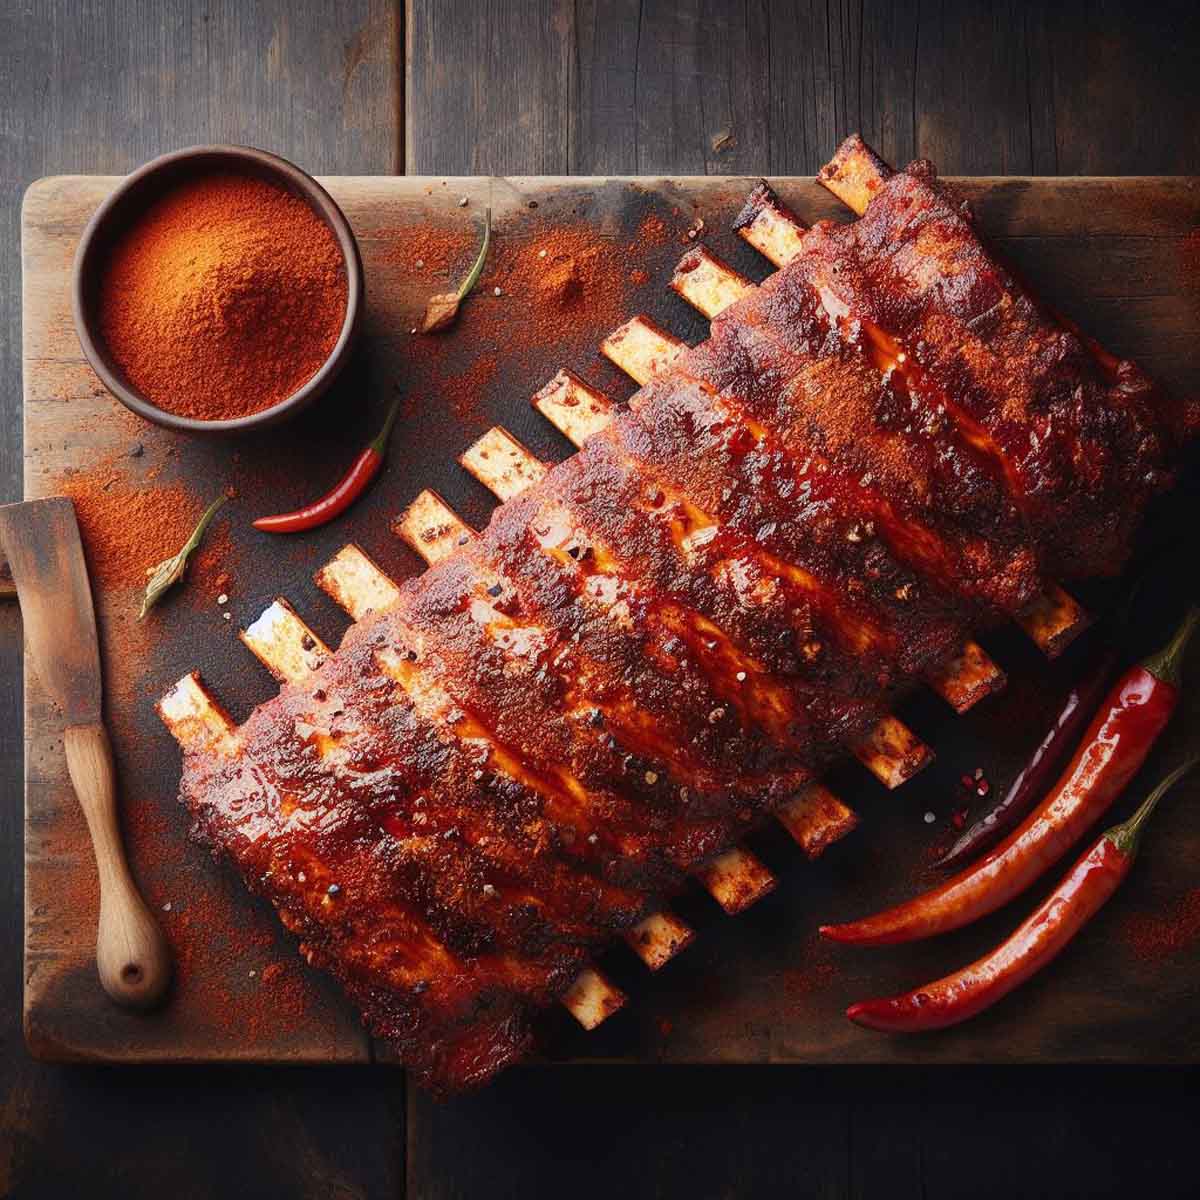
You might be eager to get those ribs on the grill or in the smoker, but patience pays off in the barbecue world. For a flavorful impact that will have your guests singing your praises, leave your rubbed ribs to marinate for at least 4 hours. Overnight is often best, though, if you want those flavors to really make friends with the meat.
Quick Marination Tips:
- Plan ahead: Start your dry rub a day in advance for the best results.
- Keep it cool: Always refrigerate your marinating ribs for food safety.
Quick Rub vs Extended Marinate: Profiling the Flavor Differences
- Quick Rub (1-3 hours): Adds a flavor crust but doesn’t penetrate deeply.
- Extended Marinate (4-24 hours): Transforms the meat, tenderizing it and adding layers of complex flavor.
Remember, the longer the dry rub is on, the more profound and pervasive the flavor will be. If you marinate starting the next day, your ribs will have ample time to take on those delectable flavors.
Marinades are a savory acidic sauce, typically made of a cooking oil, an acid like vinegar, lemon juice, or wine, and various spices, which not only enrich the flavor of food but also tenderize it through the action of the acid and oil.
The Cooking Ritual: From Dry Rub to Delicious Ribs
Pre-Cooking Tips: Bringing Ribs to Room Temperature
For the optimum cooking experience, let’s consider the temperature of the meat. Ribs should rest at room temperature for about 30 minutes before they hit the heat. This step encourages even cooking and optimal texture once they’re done.
Selecting the Ideal Cooking Method
Now that your ribs are marinated and at room temperature, it’s time to cook them to perfection. Here’s a rundown of the best methods:
- Grilling with Direct Heat: Creates a nice char and caramelizes the dry rub well. Good for quick cooking.
- Smoking with Indirect Heat: A low and slow method that imbues the ribs with smoky flavors and fall-off-the-bone tenderness. Learn how to achieve the perfect results!
- Oven Baking: A convenient and controlled way to cook your ribs, especially if outdoor cooking isn’t an option.
- Slow Cooker: Ideal for tender ribs with minimal effort, though you might miss out on the crusty rub exterior.
- Instant Pot: Perfect for a speedy turnaround without sacrificing moisture or tenderness.
Cooking Temperatures: Pork ribs are best cooked to an internal temperature of 190-200°F for that perfect pull-apart feel. A meat thermometer can be your best friend here.

The Finishing Flavor Touch: Adding BBQ Sauce
While a good dry rub can stand alone, some rib lovers swear by adding BBQ sauce towards the end of cooking. Brush your favorite BBQ sauce on during the last 20-30 minutes whether you’re grilling or baking to avoid burning the sugars in the sauce, and let it glaze over for that sticky-sweet finish.
Keeping Your Dry Rub Game Strong
Storing Extra Dry Rub for Future Feasts
Making dry rub in bulk? Here’s how to keep it as fresh as the day you mixed it:
- Store in an airtight container—glass jars with airtight lids are perfect.
- Keep it in a cool, dry place—your pantry or spice cabinet is ideal.
- Label it with the date—you’ll want to use it within 6 months for best flavor.
Your Dry Rub Ribs Questions Answered
How long can you leave dry rub on ribs before cooking?
The consensus is between 1 hour and 24 hours. Beyond a day, the meat can start to cure, which changes its texture.
Can you leave dry rub on ribs overnight?
Absolutely! This is actually recommended for maximum flavor infusion.
What happens if you leave dry rub on ribs too long?
If left for more than 24 hours, the salt in the rub starts to cure the meat, which might be great for ham but less so for ribs.
Can you use a wet rub instead of a dry rub on ribs?
Yes, a wet rub, or marinade, can also tenderize and flavor meat but offers a different texture and flavor profile.
Key Takeaways
Whether you’re a rib rookie or a pro pitmaster, getting the timing right on your dry rub can elevate your ribs to a work of art. Remember, patience isn’t just a virtue; it’s the secret ingredient to succulent, flavorful ribs. So rub, marinate, and cook with confidence. The results will be rewarding—and delicious!
- Marination Time: Minimum of 1 hour, ideally overnight.
- Cooking Method Matters: Choose based on preferred texture and convenience.
- Temperature Control: Let ribs sit at room temp before cooking and aim for an internal temp of 190-200°F.
- You can even freeze your ribs after applying the rub. You can use them later.


Perfect Dry Rub Ribs
Equipment
- mixing bowl
- Measuring Spoons and Cups
- Baking Sheet or Grilling Tools
- Aluminum Foil or Plastic Wrap
- sharp knife
- meat thermometer
Ingredients
Dry Rub:
- 1/2 cup brown sugar
- 1/4 cup paprika
- 1 tablespoon black pepper
- 1 tablespoon kosher salt
- 1 tablespoon chili powder
- 1 tablespoon garlic powder
- 1 tablespoon onion powder
- 1 teaspoon cayenne pepper optional for heat
Ribs:
- 2 racks of baby back ribs approximately 3 lbs each
- 2 tablespoons olive oil optional for rub adhesion
- 1 cup of your favorite BBQ sauce optional for glazing
Instructions
- Clean your ribs by patting them dry with paper towels and removing the membrane from the back of the ribs.
- In a bowl, combine all dry rub ingredients until evenly mixed.
- Apply a thin layer of olive oil to each rack of ribs to help the dry rub adhere, if desired.
- Generously apply the dry rub all over the ribs, massaging it into the meat on all sides.
- For best flavor, wrap the ribs in foil or plastic wrap and refrigerate for 4 to 24 hours.
- Preheat your grill or oven to 225 °F for slow cooking.
- Cook ribs for about 2 hours or until they reach an internal temperature of 190 °F – 200 °F
- Apply BBQ sauce during the last 30 minutes of cooking if you prefer saucy ribs.
- Rest ribs for 10-15 minutes before slicing and serving.
Video
Notes
- Removing Membrane: Lift a corner of the membrane with a knife and pull it off; this helps rub penetration and improves texture.
- Rub Adhesion: Optionally use yellow or ground mustard in place of olive oil for enhanced flavor and spice adherence.
- Wrapping Ribs: Wrapping helps maintain moisture and traps the rub against the meat, but be gentle to avoid rubbing the spices off.
- Marinating Time: Allow enough time for flavors to infuse. The longer the marination, the deeper the flavor, but do not exceed 24 hours.
- Cooking Low and Slow: Maintain a consistent low temperature for the ribs to cook evenly and become tender.
- Final Temperature: Look for the meat to pull back from the bones by a half-inch or so, indicating doneness without drying them out.
- Resting Time: Always rest your meat after cooking to allow juices to redistribute, ensuring moist, tender ribs.
- Storage: Store unused dry rub in an airtight container in a cool, dry place.
- Leftovers: Store cooked ribs in the refrigerator wrapped in foil or a sealed container for up to 3-4 days. Alternatively you can freeze them for up to several months.

