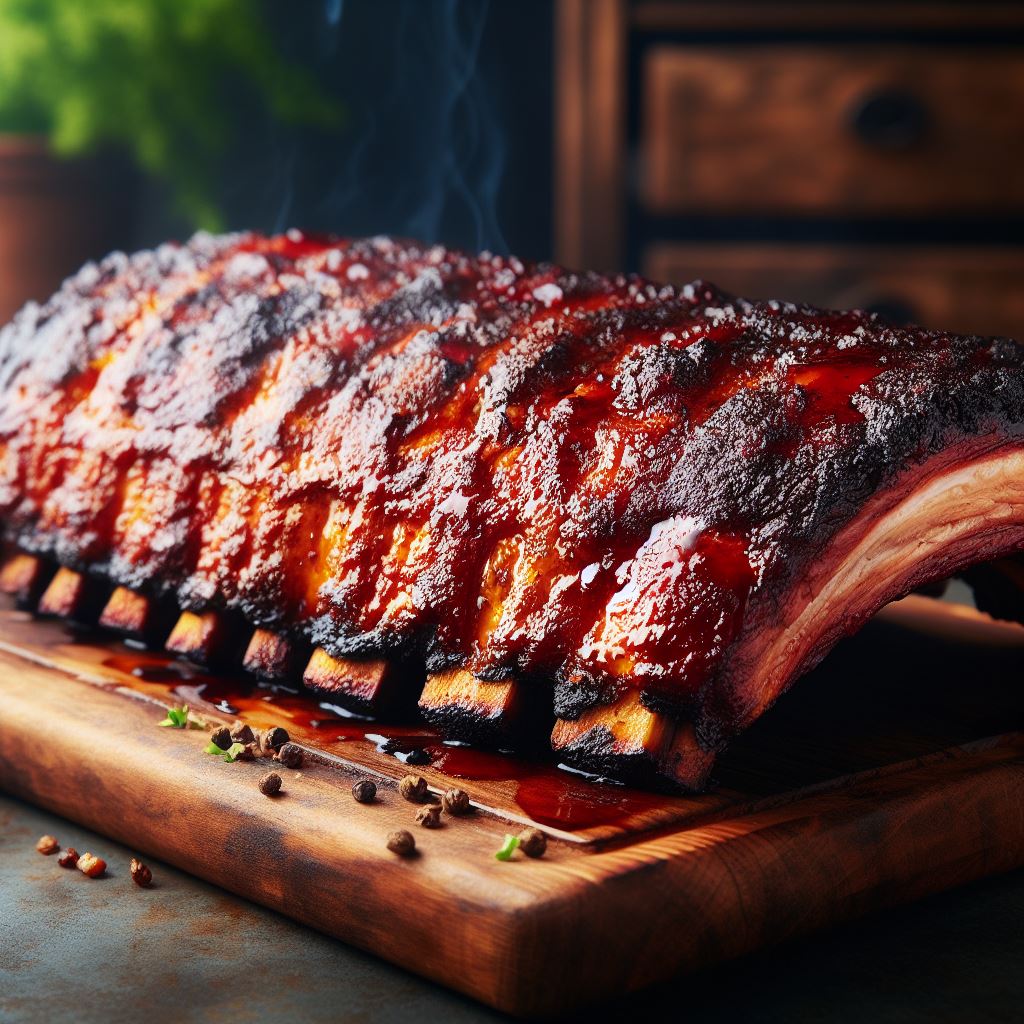
Smoking pork ribs can feel like a culinary tightrope walk. Too little time in the smoker and they’re chewy; too much and they’re drier than a tongue on a hot summer day. But take heart, rib fans. Let’s take the guesswork out of the equation and get you smoking ribs at 250°F like a pro.
Table of Contents
Quick Answer: How Long to Smoke Pork Ribs at 250°F?
Before diving deep into the smoky abyss, let’s address the burning question: how long do you smoke pork ribs at 250°F? The straightforward answer is about 4 to 6 hours, give or take depending on a few variables like rib type and size.
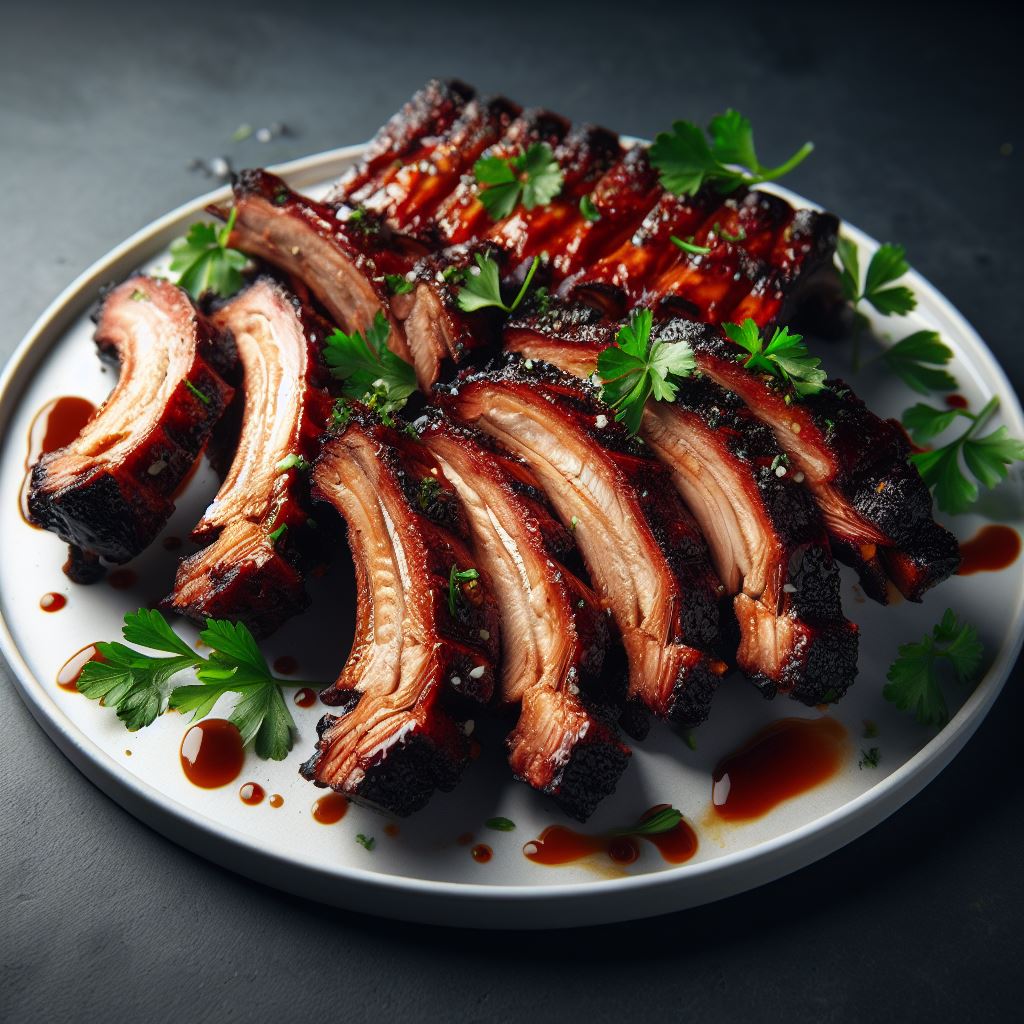
The type of pork ribs has a big say in how long they’ll need to be smoked. Spare ribs, with their thicker build, require closer to 6 hours. Baby back ribs, smaller and leaner, might only need 4 hours. And St. Louis style ribs, trimmed-down spare ribs, are often just right after about 5 hours.
However, don’t let time be your only guide; keep a close eye on the internal temperature. When it reaches anywhere between 190°F and 200°F, you’ll know those ribs are ready to be devoured.
Selecting the Ideal Rib Type for Smoking
Choosing ribs is much like selecting a fine wine—it all comes down to personal preference and the occasion. Here’s a handy breakdown to guide your choice:
Spare Ribs:
- Largest and fattiest of the lot, offering a rich flavor
- Averages 5 to 6 hours of smoking time due to size
Baby Back Ribs (or “Baby Backs”):
- Shorter and leaner than spares, with a sweet spot closer to the loin
- Typically require around 4 to 5 hours for optimal tenderness
St. Louis Style Ribs:
- A more manicured version of spare ribs with cartilage and tips removed
- Often balance out around 5 hours in the smoker
Remember, it’s not just the type, but also the weight and thickness of the ribs that influence cooking time. For best results, look beyond the clock and let the internal temperature of the ribs be your guide. An instant-read thermometer will be your best friend in this venture.
Preparing Your Ribs: From Room Temperature to the Smoker
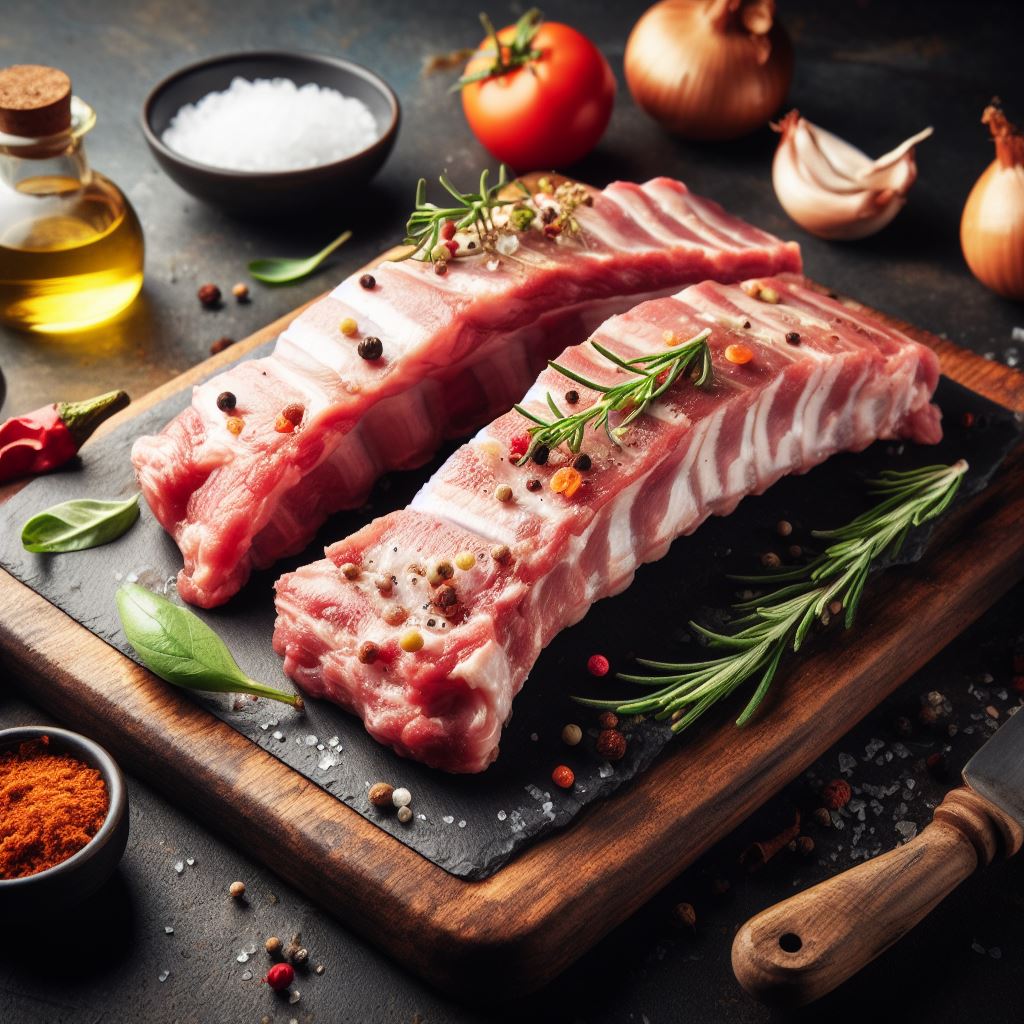
Prepping your pork ribs is pivotal and sets the stage for the smoky performance to come. This is where you morph from cook to culinary craftsman. Start off by doing the following:
- Take your rack of ribs out of the fridge and let them sit until they reach room temperature. This helps ensure they cook evenly.
- Remove excess fat for a cleaner eat, but leave some for flavor. A bit of fat is good; it’s the essence of moisture and taste.
- Peeling off the silver skin on the back of the ribs with a paper towel is next. This tough membrane can prevent seasonings from sinking in.
Now, grab your favorite dry rub—a popular mixture includes savory spices and a hint of brown sugar—and massage those ribs generously. If you’re into marinades, this is the time—let the ribs soak up the flavors, anywhere from an hour to overnight if you can stand the wait.
Remember to equip yourself with an arsenal of tools: a sharp knife for trimming, a butter knife and paper towel for the silver skin, and aluminum foil if you’re planning on wrapping your ribs mid-smoke.
According to the USDA, it’s crucial to ensure that meat and poultry are completely thawed before smoking, as smoking uses low temperatures and partially frozen meat can linger in the ‘Danger Zone’ (temperatures between 40 and 140 °F) where harmful bacteria can multiply, potentially leading to foodborne illnesses.
Smoking Ribs Equipment Primer
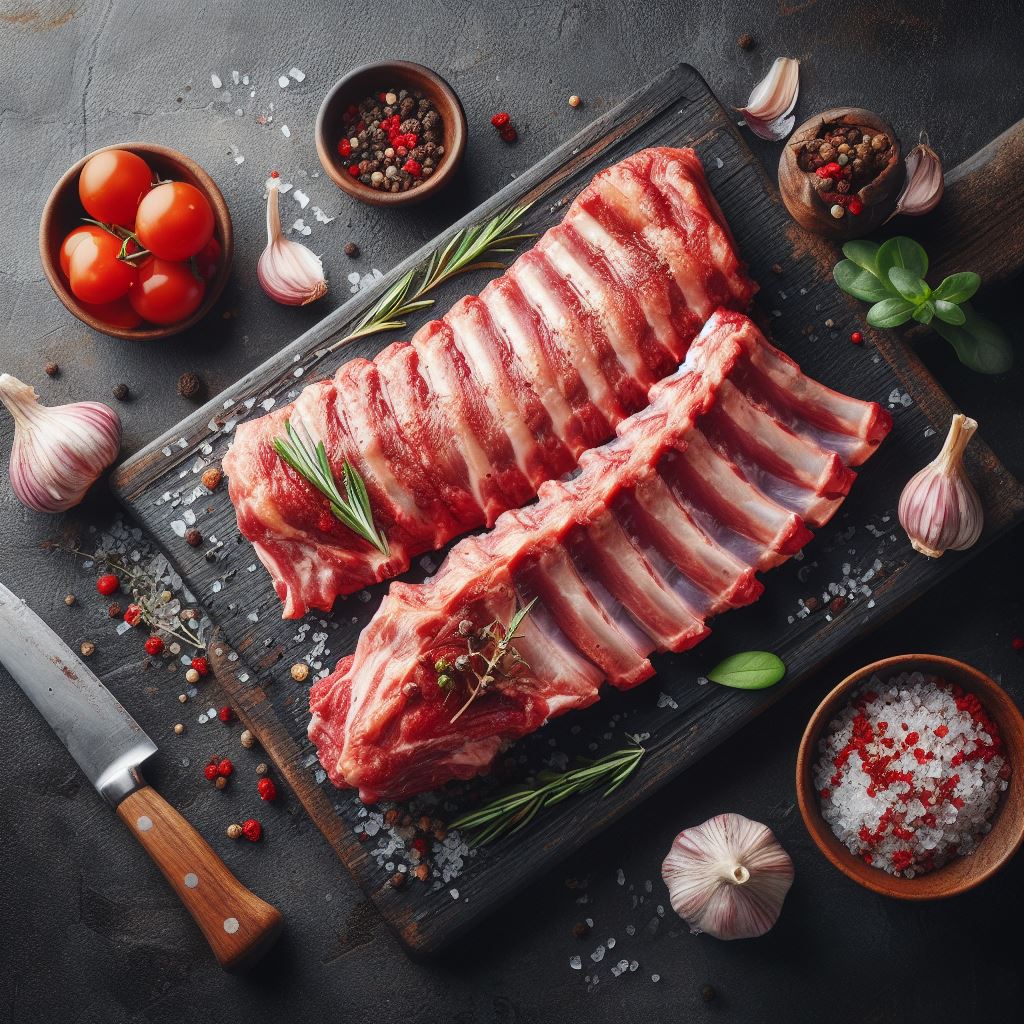
Your choice of smoker can make a considerable difference in the smoking process. Pellet smokers, electric smokers, and charcoal grills—each has its proponents. Pellet smokers are set-and-forget, while charcoal grills require a bit more babysitting for that steady temperature. But whichever you choose, the end goal remains the same: delicious smoked ribs.
To keep a constant eye on your smoke fest, invest in a quality meat thermometer. The kind that stays in the meat, letting you know the internal temperature of the ribs without lifting the lid, is invaluable.
Here’s a list of equipment to keep handy:
- Smoker (pellet, electric, or charcoal)
- Wood chips or pellets (fruit woods for a sweeter smoke flavor)
- Rib rack (for maximizing space and even cooking)
- Aluminum foil (for wrapping)
- Meat thermometer
Set everything up with care and attention. A charcoal grill smoker might require a constant check to maintain a low temperature, while a pellet smoker will need its hopper stocked with the best wood pellets you can find.
Optimal Wood Chips and Their Smoke Flavors
Wood chips contribute significantly to the smoky flavor, and different woods impart different nuances to your ribs. Consider the following options for that perfect bite:
- Fruit Woods: Like apple and cherry, they lend a mild, sweet smoke ideal for pork.
- Hickory: The classic choice, providing a strong, bacon-like taste.
- Oak: A more neutral flavor and great for a longer smoke.
Experiment with different types to discover what caters to your taste buds the best. Keep the following tips in mind:
- Soaked or dry? Dry wood chips produce smoke faster; soaked ones smolder longer, imparting less time in direct contact with heat but provide a sustained smoky environment.
- Use enough to last through the smoking ribs process. Replenishing wood chips is a balancing act—you want just enough smoke without overdoing it to preserve that perfect rib smoky flavor.
Now that your ribs and smoker are ready, let’s begin the primary event: the cooking process.
The Science Behind the Smoke
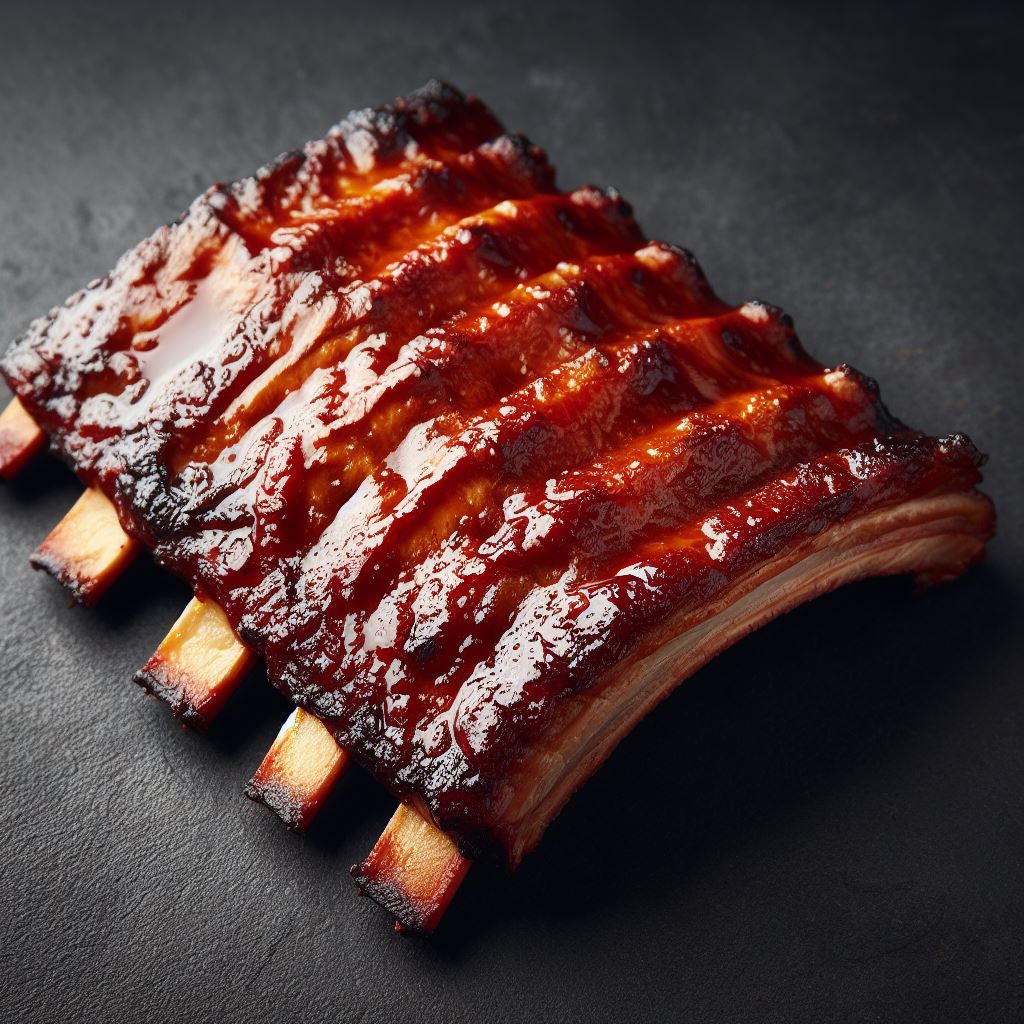
When it comes to smoking ribs, temperature is more than just a number – it’s the key to unlocking flavor and tenderness. Smoking at 250°F is ideal because it’s hot enough to break down the collagen in the ribs into gelatin, which gives the meat its juicy, melt-in-your-mouth texture. But it’s also low enough to cook the ribs slowly, allowing the smoke to infuse deep into the meat.
The Cooking Process: How Much Time and What Temperature?
It’s time to fire it up and start smoking! There’s no rush in the world of BBQ—good things come to those who wait. The adage “low and slow” is your mantra when it comes to ribs, nurturing them at 250°F to perfection.
Here are a few steps and rules to abide by:
- Preheat your smoker to a steady 250°F. Use a smoker grill thermometer to ensure accuracy.
- Place the ribs bone side down on the grill grates, basking evenly in that smoky cocoon.
- Allow the ribs to smoke with minimal peeking. Each look can release heat and affect that delicate steady temperature you’re aiming for.
- Smoke the ribs until they reach an internal temperature between 190°F and 200°F. This is the sweet spot where connective tissue has broken down enough to render the ribs bone tender while keeping those juices locked in for moist ribs.
The magic numbers to keep in mind:
- Spare Ribs: 5-6 hours
- Baby Back Ribs: 4-5 hours
- St. Louis Style Ribs: 5 hours
To ensure these times are not leading you astray, couple them with these checks:
- The bend test: Pick up the ribs with tongs; if they bend easily and the meat starts to crack, it’s a sign they’re almost ready.
- A meat thermometer: This doesn’t lie. When it indicates the right internal temperature, you can rest easy knowing you’ve given your ribs enough time to transform into tender morsels.
Wrapping Techniques to Lock in Juiciness
Somewhere through the cooking process, you might consider wrapping your ribs in aluminum foil or even butcher paper—affectionately known in the BBQ world as the Texas Crutch. The method involves tightly wrapping the ribs during a portion of the cooking time, which can tenderize the meat and speed up the cooking process.
You can embrace the popular 3-2-1 method which breaks down as follows:
- 3 hours of smoking directly on the grill
- 2 hours wrapped in aluminum foil with a bit of apple juice for moisture
- 1 hour back on the grill to firm up the outer bark
However, this method may vary based on the type of ribs and personal preference. For instance, baby backs might adhere to a shorter cycle, like 2-2-1, due to their leaner nature.
Here’s a key takeaway: Wrapping is optional. Some swear by it for that fall-off-the-bone experience; others argue it can render the ribs too soft. Like all things BBQ, it boils down to personal preference and experimenting to find what works best for your taste.
Monitoring Your Ribs: When Is Enough Time Enough?
Tempting as it may be to declare victory when the clock hits the estimated time, refrain from doing so until you’ve got some solid evidence. As mentioned before, don’t just rely on the clock; keep a diligent watch on the internal temperature of the ribs.
Consistency is your best friend when it comes to managing the cooking time. Maintaining a steady temperature in your smoker is as crucial as knowing when to pull the ribs off the grill. Watch for that moment when the meat pulls back from the bone revealing about a quarter inch—that’s when you know you’re close.
Here’s a simple checklist to ensure your ribs are primed for serving:
- Check for the desired meat retraction from the bone.
- Probe the meat with an instant-read thermometer—not touching the bone—for an accurate internal temperature reading.
- Perform the bend test to assess the ribs’ flexibility and doneness.
Now, feel free to go ahead to the enhancing flavor section, where we’ll take your ribs from “just smoked” to “competition-level.”
Enhancing Flavor: Applying Marinades and Sauces
You’ve got your ribs smoking nicely, and the aroma is intoxicating, but there’s more you can do to tease out even more flavor. This is where marinades and sauces come in to add layers of taste that will have your tastebuds doing the cha-cha.
Marinating: If you’ve decided to marinate, you’ve started adding flavor well before the ribs hit the smoker. Marinades often include an acid like apple cider vinegar, which not only flavors the meat but also helps tenderize it. Apply your marinade and let the ribs soak for several hours, or better yet, overnight.
Dry Rubs: Your dry rub is your bark’s bodyguard—it delivers a texture that’s as important as taste. Before smoking, cover every nook of the ribs with a rub that’s generous with spices and has a little brown sugar for caramelization. Dry rubs create that delectable crust we all love.
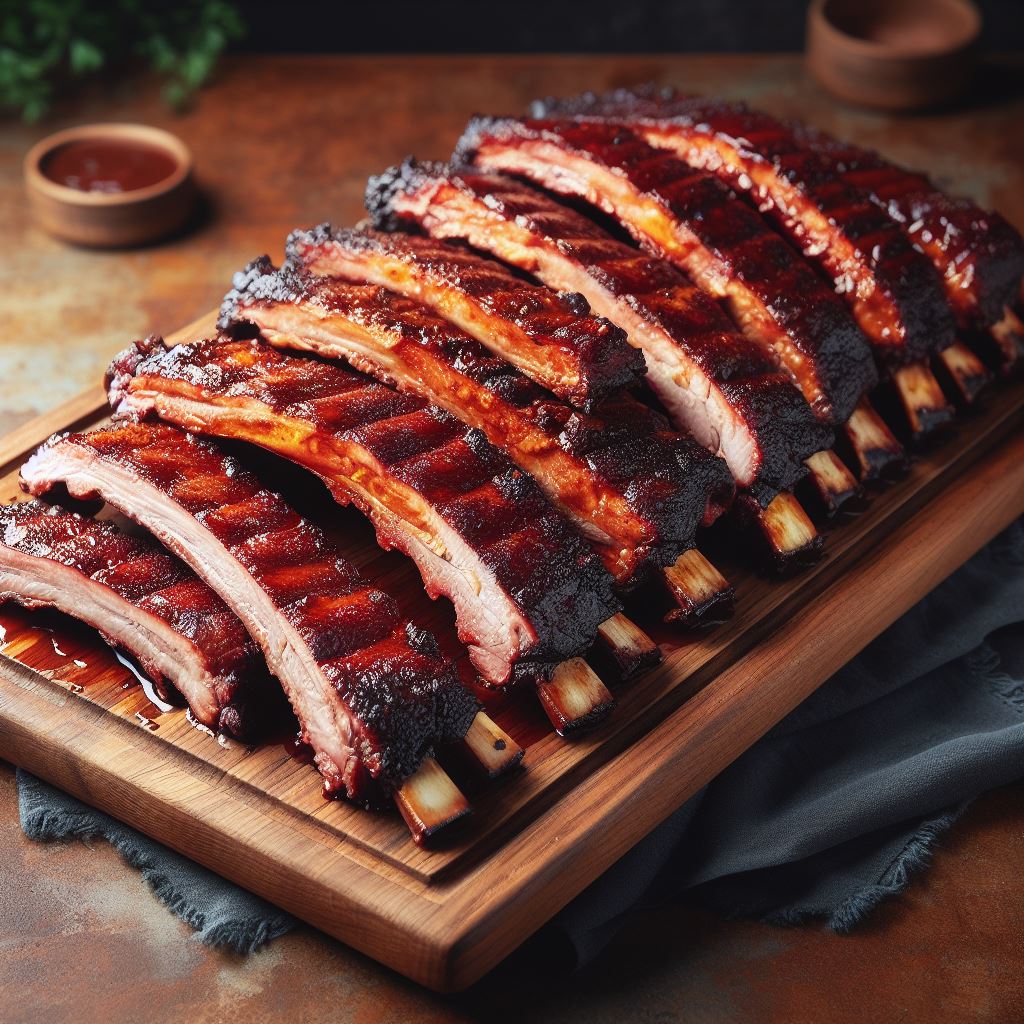
Sauces: Applying barbeque sauce is almost a sacred act in smoking circles. It’s usually done in the final hour of cooking to avoid burning the sugars in the sauce. Slather on your favorite BBQ sauce generously with a brush, allowing it to bake into a sticky, finger-licking glaze.
It’s important to consider:
- Balance: Too much sauce can overpower the natural flavors of the meat and the smoke. Aim for just enough to compliment without domination.
- Timing: Apply your barbecue sauce when the ribs are nearly done to avoid charring and ensure enough time for the flavors to meld.
Lastly, pairing the right kind of woods to your sauces can elevate those smoked baby back or spare ribs to new heights. Hickory might go hand in hand with a robust, spicy sauce, while sweet sauces might find a soulmate in apple or cherry wood.
Time for Rest: The Final Touch to Perfect Ribs
Believe it or not, patience is still a virtue even after the ribs are off the grill. Resting is the unsung hero of the BBQ process, the pause that makes for a better rib.
When your ribs have reached that coveted internal temperature, and the bend test signals success, it’s not yet time to slice and serve. Instead, follow these steps:
- Wrap the ribs: Use aluminum foil to loosely tent the ribs, allowing them to rest. This keeps them warm and lets the juices redistribute.
- Set them aside: Find a spot away from heat where the ribs can rest undisturbed. This could be a countertop or the top of the smoker if it’s cool enough.
- Wait: Give the ribs at least 10 to 15 minutes of resting time. Larger racks might need up to half an hour. It might seem like a long time when your stomach is grumbling, but trust me, it’s worth the wait.
During this rest period, something magical happens. The moisture that bubbled to the surface during cooking retreats back into the meat, taking all the rubs and smoke flavors with it. This results in ribs that are moist, flavorful, and ready to fall apart at the touch of your fork, which brings us to our next step: slicing.
Approach slicing as you would the rest of the process: with care. Use a sharp knife to cut between the bones cleanly, letting the knife do the work, not your arm. This ensures each rib stays intact, proud with its caramelized exterior and juicy interior.
Common Mistakes to Avoid
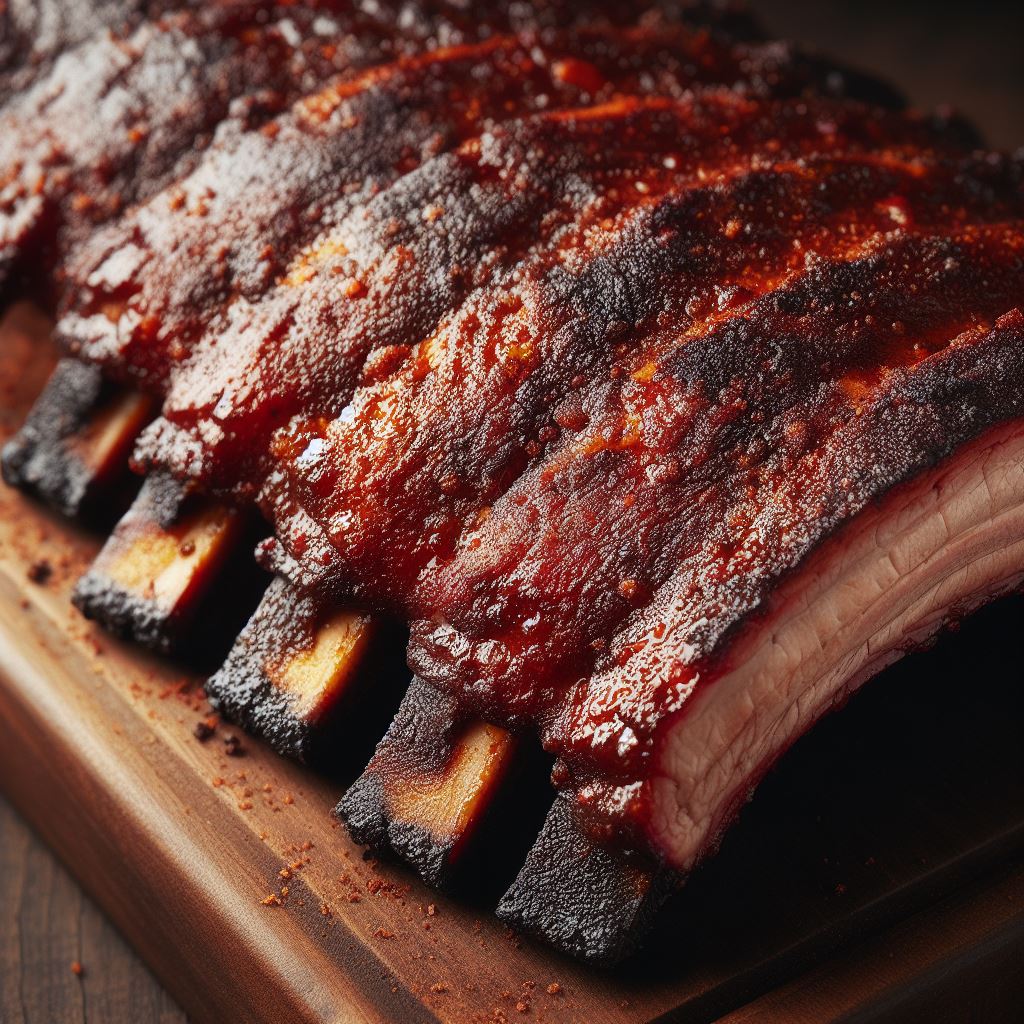
- Overcooking: Ribs should be tender but not fall off the bone. Overcooking can make them mushy.
- Frequent Temperature Changes: Avoid opening the smoker too often, as this can lead to temperature fluctuations.
- Ignoring Rest Time: Resting the ribs allows the juices to settle, so don’t skip this step.
Frequently Asked Questions
Let’s clear the smoke and answer some of the most common queries you might have:
How Do I Adjust Cooking Time for Different Racks of Ribs? Cooking time can differ based on several factors: the type of ribs, the thickness of the meat, and whether the ribs are bone-in or boneless. Use the internal temperature as your truth-teller; once it hits between 190°F and 200°F, your ribs should be ready, regardless of the type.
Can I Smoke Ribs at Higher or Lower Temperatures? Absolutely, but it will change the cooking time and potentially the end result. A lower temperature might require a longer time, while a higher temperature could lead to faster cooking but less tenderness.
What’s the Best Wood to Use When Smoking Ribs? The “best” wood can be a matter of personal preference, but many rib aficionados favor fruit woods like apple and cherry for their milder, sweeter smoke. Hickory and oak are great for stronger, more smoky flavors.
How Do I Keep Ribs Moist While Smoking? A couple of tips:
- Use a spray bottle to mist your ribs with apple juice or apple cider vinegar periodically while they smoke.
- The wrapping phase of the 3-2-1 method also helps lock in moisture with added liquid like apple juice.
Is a Pellet Smoker Better Than a Charcoal Grill for Smoking Ribs? Each comes with pros and cons. Pellet smokers are generally easier for maintaining a consistent temperature, but some folks swear by the taste imparted by a charcoal grill. It’s a case of convenience versus traditional flavor and the experience you prefer.
Armed with answers to these questions, you’re better prepared to face the smoker. But remember, experience is the best teacher. Don’t be afraid to try different methods and make a few mistakes along the way; it’s all part of the smoke-filled journey to BBQ greatness.
Key Takeaways
Before we put the lid on our culinary cookout, let’s recap the key points to ensure your smoked pork ribs turn out mouthwateringly memorable:
- Patience is Key: Smoking ribs at 250°F takes time, typically between 4 to 6 hours, depending on the type of ribs and their thickness.
- Type Matters: Spare ribs, baby back ribs, and St. Louis style ribs all have different cooking times. Heavier and thicker ribs like spare ribs will generally need more time than leaner cuts.
- Internal Temperature: Always use a meat thermometer to check the internal temperature of the ribs. Aim for between 190°F and 200°F for perfectly tender ribs.
- The Bend Test: This is a reliable way to gauge doneness. If the ribs bend easily and the meat starts to crack, they’re ready to come off the smoker.
- Prepping Properly: Take the time to bring your ribs to room temperature, trim excess fat, remove the silver skin, and apply a dry rub or marinade for the best flavor.
- Wood Choice Impacts Flavor: Experiment with different woods to find the smoke flavor you love. Fruit woods are great for a milder, sweeter flavor, while hickory and mesquite offer a robust smoky taste.
- Resting Matters: Let your smoked ribs rest wrapped in foil for at least 10 to 15 minutes before slicing into them. This allows the juices to redistribute, making for moist and tender meat.
- Personal Preference: Don’t be afraid to adjust the cooking method to suit your taste. Some prefer unwrapped, barky ribs, while others like them wrapped and dripping with juice.
Remember, the process of smoking ribs is as much an art as it is a science. Each time you light up your smoker, you’ll learn a little more about what works best for you and your palate.
The Reward of Smoking Perfection
Congratulations, pitmaster! You’re now equipped with all the know-how you need to smoke pork ribs to perfection at the golden temperature of 250°F. With this guide, you’ve become the Sherlock Holmes of smoke and the Beethoven of BBQ. Your ribs will be so tender, they’ll nearly leap into your mouth in sheer anticipation!

Perfectly Smoked Pork Ribs at 250°F
Equipment
- Smoker (or grill)
- Wood Chips or Chunks (preferably hickory, apple, or cherry)
- meat thermometer
- Aluminum Foil (optional)
- Basting Brush (for BBQ sauce)
Ingredients
- 4 lbs Baby Back Ribs (2 racks)
- 1/4 cup Brown Sugar
- 2 tablespoons Paprika
- 1 tablespoon Garlic Powder
- 1 tablespoon Onion Powder
- 1 teaspoon Ground Black Pepper
- 2 teaspoons Kosher Salt
- 1/4 cup Apple Cider Vinegar for spritzing
- 1/2 cup BBQ Sauce optional, for glazing
Instructions
- Preparation: Begin by removing the membrane from the back of the ribs. Mix brown sugar, paprika, garlic powder, onion powder, black pepper, and kosher salt to create the dry rub. Apply the rub generously on both sides of the ribs.
- Preheat Smoker: Preheat your smoker to a steady 250 °F. Add your choice of wood chips or chunks.
- Smoking the Ribs: Place the ribs in the smoker. Maintain a consistent temperature of 250 °F. Spritz the ribs with apple cider vinegar every hour to keep them moist.
- Check for Doneness: After about 3-4 hours, check if the ribs are tender and the meat is pulling away from the bone. The internal temperature should be around 195 °F to 203 °F.
- Optional Glazing: In the last 30 minutes, you can brush the ribs with BBQ sauce for a glazed finish.
- Resting: Once done, let the ribs rest for 10-15 minutes before slicing.
- Serving: Slice the ribs, serve, and enjoy!
Video
Notes
- Temperature Control: Maintaining a steady temperature of 250°F is crucial for perfectly smoked ribs.
- Wood Choice: Hickory gives a classic smoky flavor, while apple and cherry woods impart a sweeter note.
- Spritzing: Apple cider vinegar helps to keep the ribs moist during the long smoking process.
- Checking Doneness: Use a meat thermometer to check the internal temperature. Look for the meat to pull away from the bone.
- Resting the Ribs: Allowing the ribs to rest after smoking ensures the juices redistribute, resulting in more tender meat.
- Optional Glazing: Glazing with BBQ sauce is optional but adds a sweet and tangy flavor.
- Storage: Leftover ribs can be stored in the refrigerator for up to 3 days.

