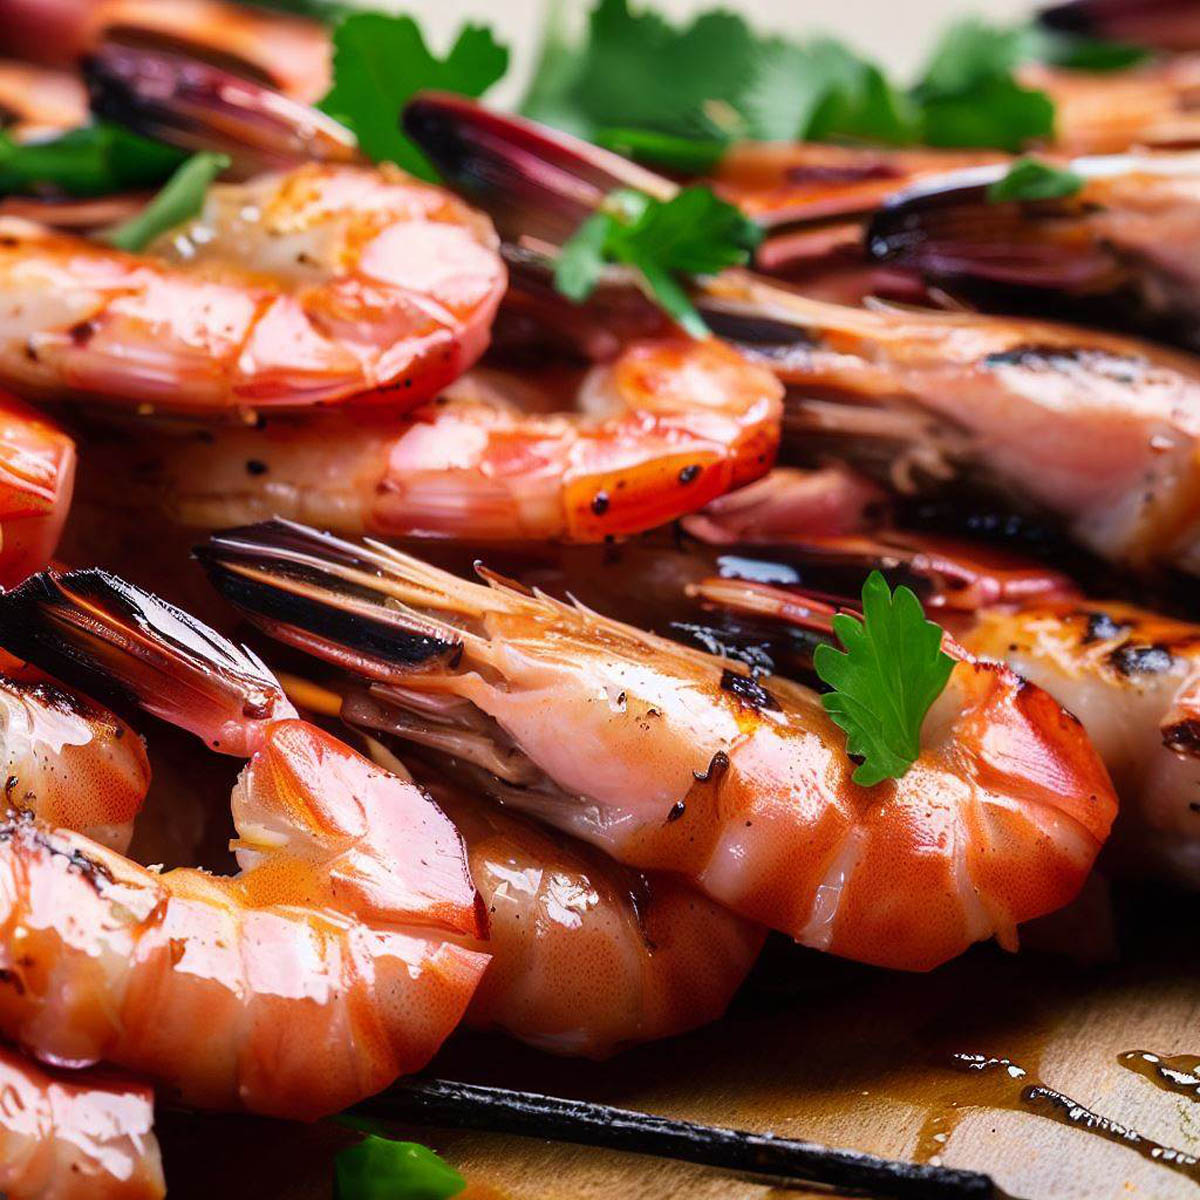
Craving the succulent, smokey flavor of Texas Roadhouse Grilled Shrimp but can’t make it to the restaurant? I’ve got your back, partner! This easy copycat recipe will help you whip it up that delicious dish in your own kitchen very quickly with just a few simple ingredients.
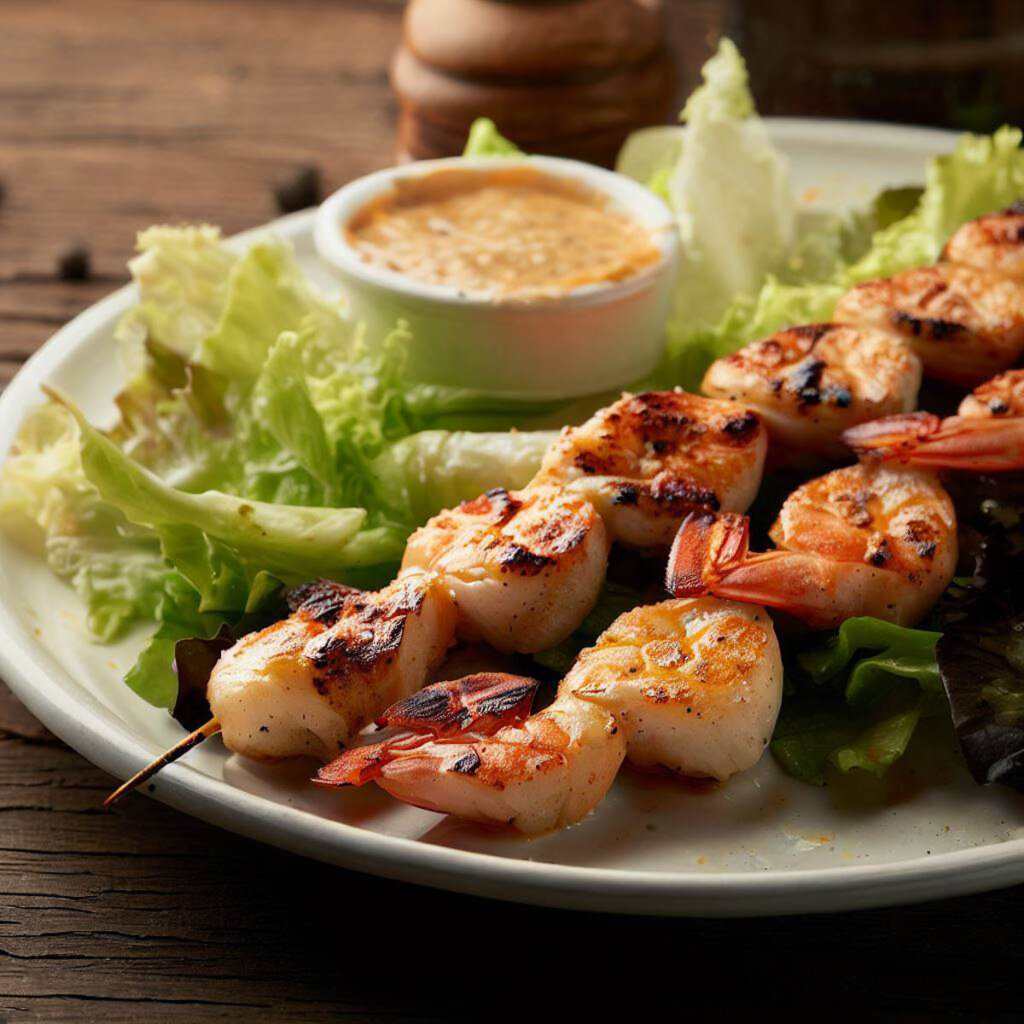
Why This Recipe Works
This classic summertime dish is an ace up the sleeve at any dinner party. It’s a quick appetizer that leaves everyone licking their fingers, asking for more, and makes a delicious meal that will steal the spotlight.
Alright, why is this recipe such a home run? Here’s why:
- Simplicity at its best: This easy recipe calls for simple ingredients, which, when combined, create a symphony of flavors that is hard to resist.
- Unique and Bold Flavor: By using a unique flavor blend that includes olive oil, garlic powder, and fresh lemon juice, we bring out the natural sweetness of the large shrimp.
- Fast and Fabulous: This quick appetizer is a delicious meal that’s done in no time. Expect your grilled shrimp to be ready in just 2-3 minutes per side!
- Flexible and Fun: This dish is not only perfect for a hearty main course, but it can also serve as a quick appetizer to kick off any gathering with a bang.
About Texas Roadhouse Grilled Shrimp
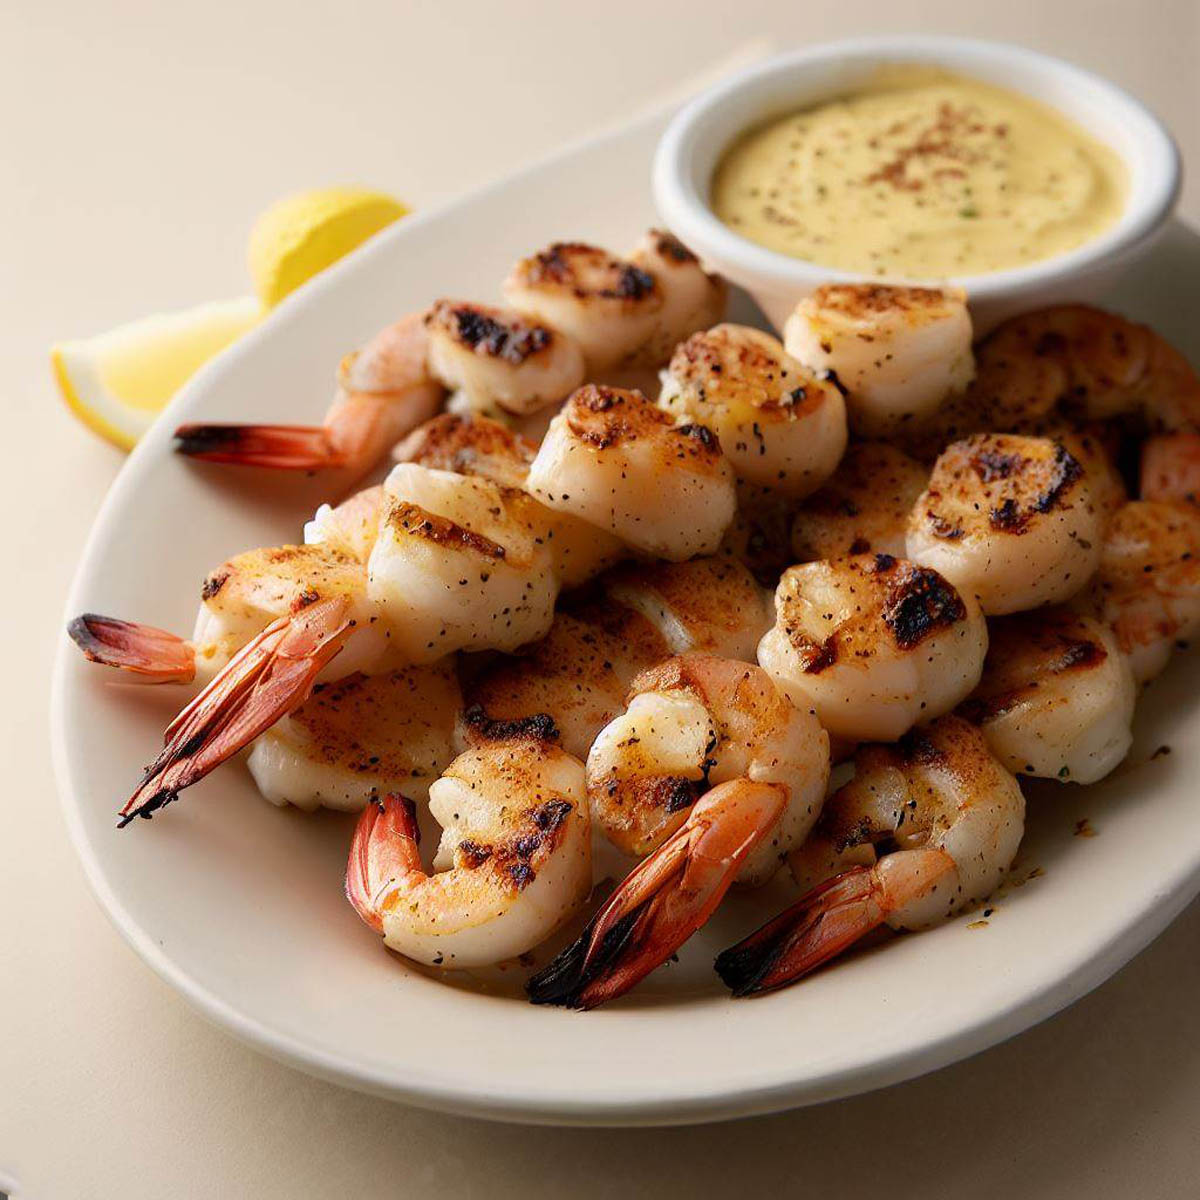
The Texas Roadhouse Grilled Shrimp has been stealing hearts (and stomachs) across America since its debut. This legendary dish hails from the Lone Star State, where grills and shrimps are as popular as cowboys and rodeos. So why not ride that wave right into flavor town?
Ingredients
Here’s your shopping list. Don’t worry, it’s short and sweet:
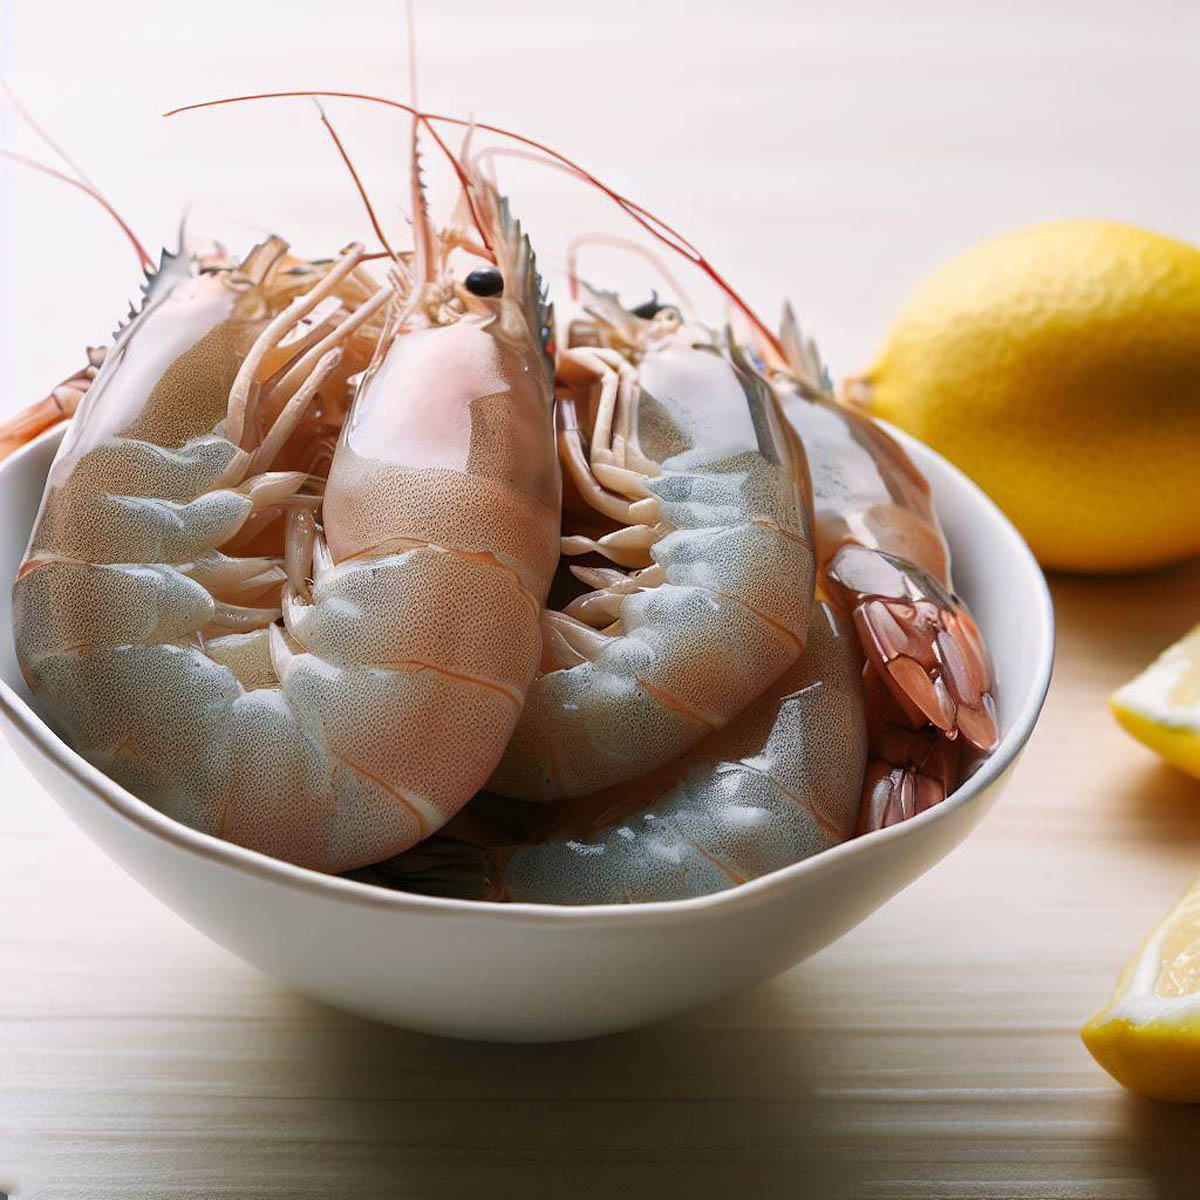
- Shrimp: Go for the fresh and deveined shrimp, but leave the tails. Opt for large shrimp, as they are juicier and easier to handle on the grill. Fresh shrimp is always better than a frozen one.
- Olive oil: This adds a richness to the shrimp without overpowering its natural flavor.
- Garlic Powder: Gives a deep, savory note to the marinade.
- Fresh Lemon Juice: Balances the rich flavors and adds a zesty tang.
- Mixed herbs: Oregano and basil are the power couple here.
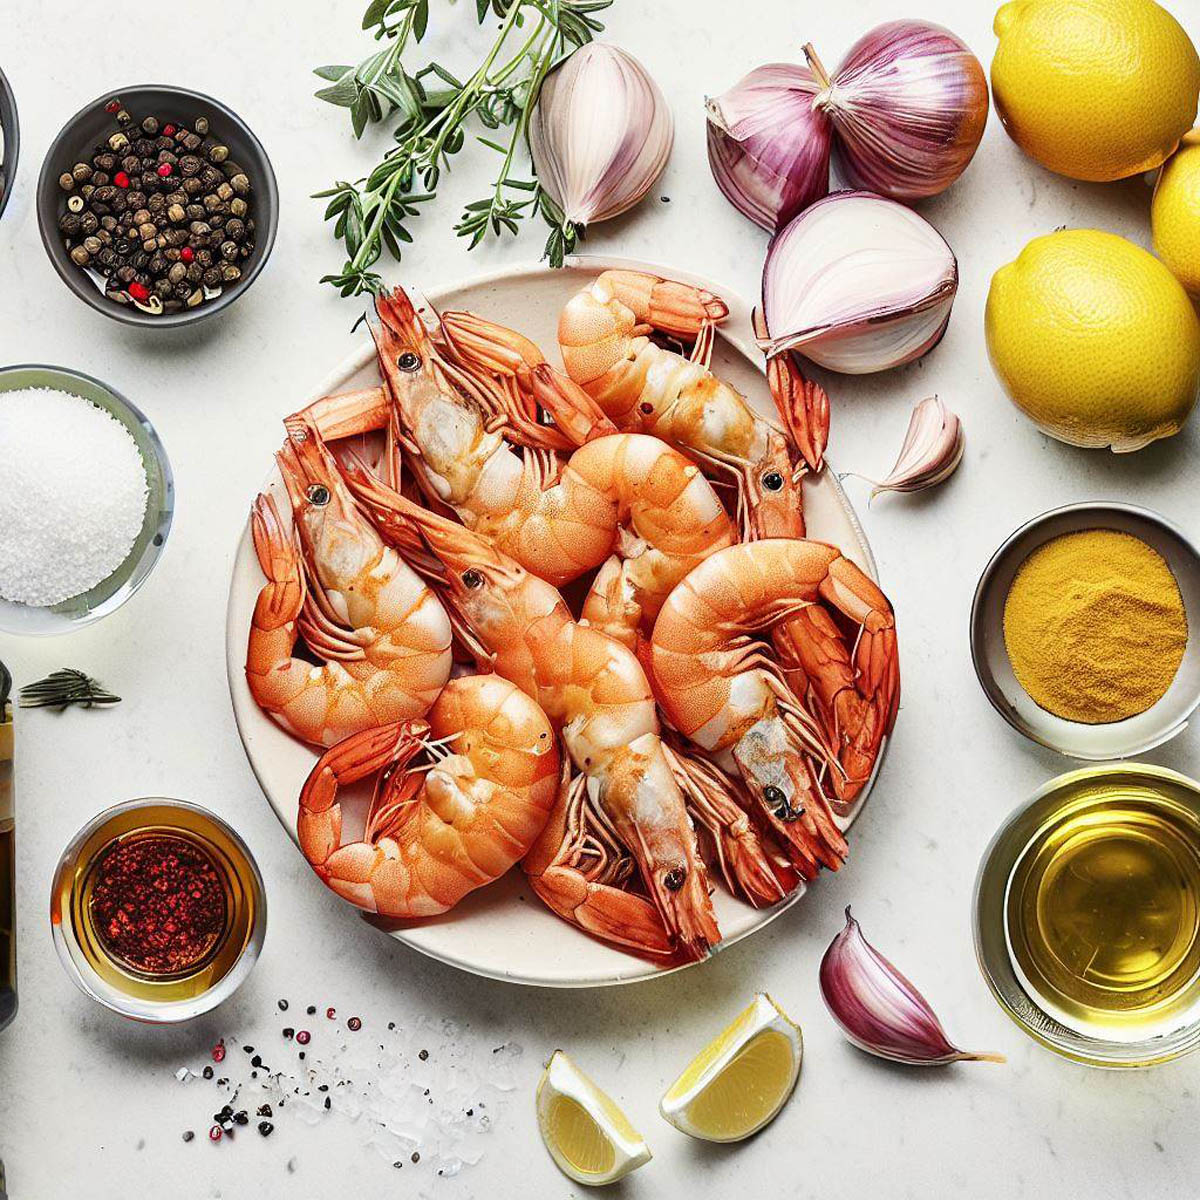
- Paprika powder: Because we love a bit of smoky charm.
- Onion powder: A key player in our simple seasoning mix, onion powder adds a savory depth that perfectly complements the mild flavor of the shrimp.
- Black Pepper: Provides a gentle kick that complements the other ingredients.
- Salt: Simple yet transformative.
- Seasoned rice (optional): Or any side dish you fancy.
- Fresh parsley (optional): A nice green touch.
Equipment
Time to gear up! Here’s your toolkit:
- A grill: The star of the show, where the magic happens. Alternatively, you can use a grill pan.
- Bamboo Skewers: Great for threading your shrimp and making them easier to handle on the grill. Wooden skewers work just as well.
- Large Mixing Bowl: The perfect size to mix your marinade and coat each shrimp thoroughly.
Preparation Steps
- Gather Ingredients: This is like assembling your super squad! Grab all your ingredients and measure them accurately. Remember, the perfect recipe is all about the right proportions.
- Prepare the Shrimp: Rinse your shrimp under cold water, then pat dry. Make sure to leave those tails on for some restaurant-style flair!
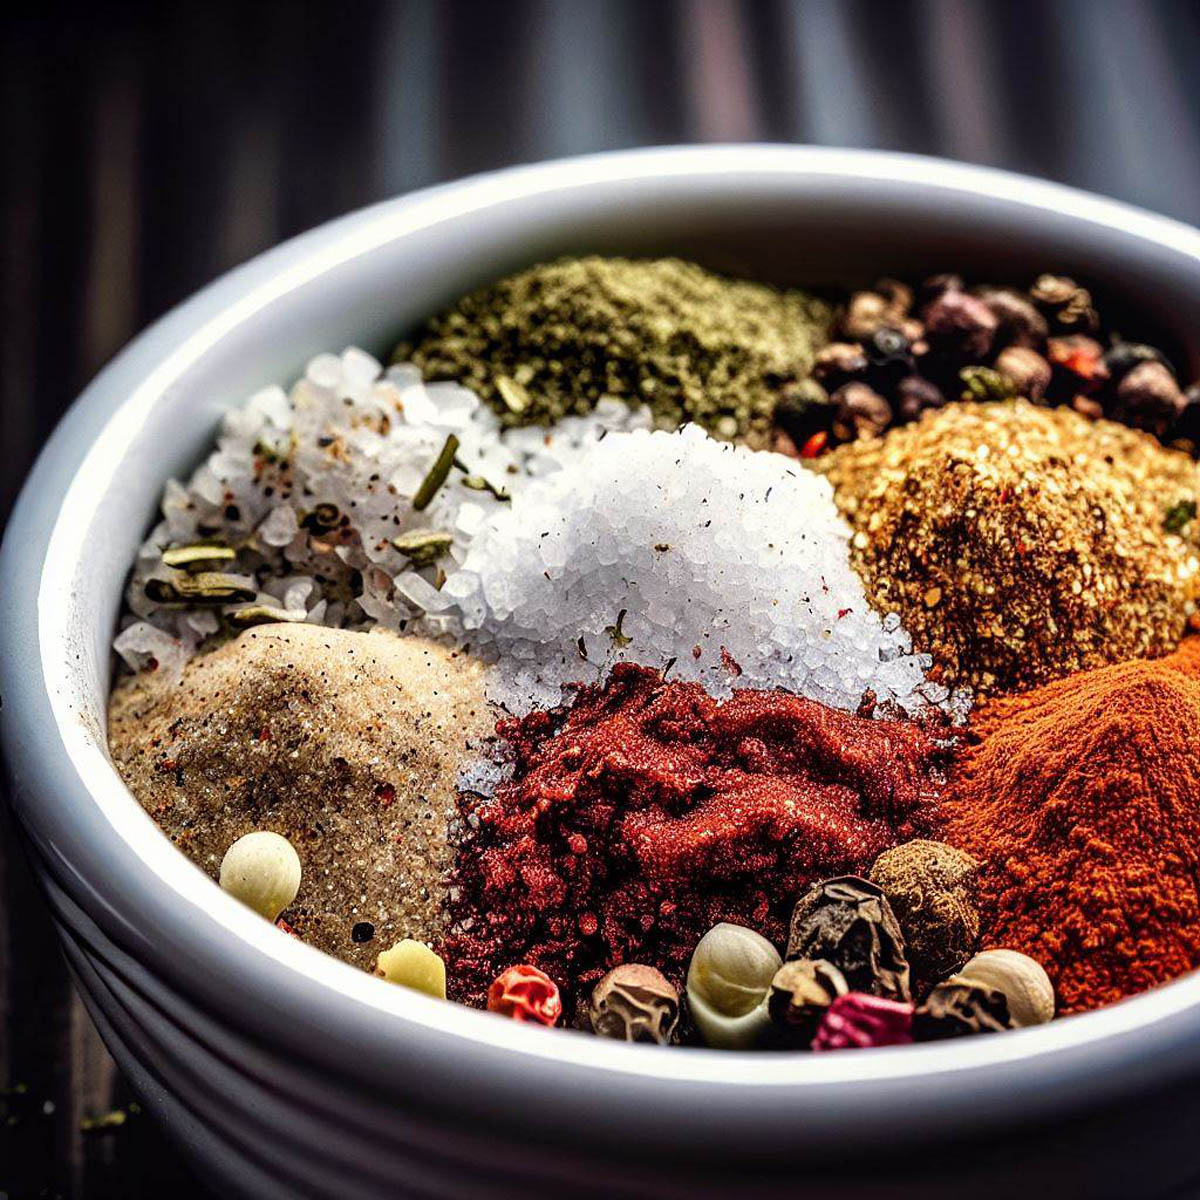
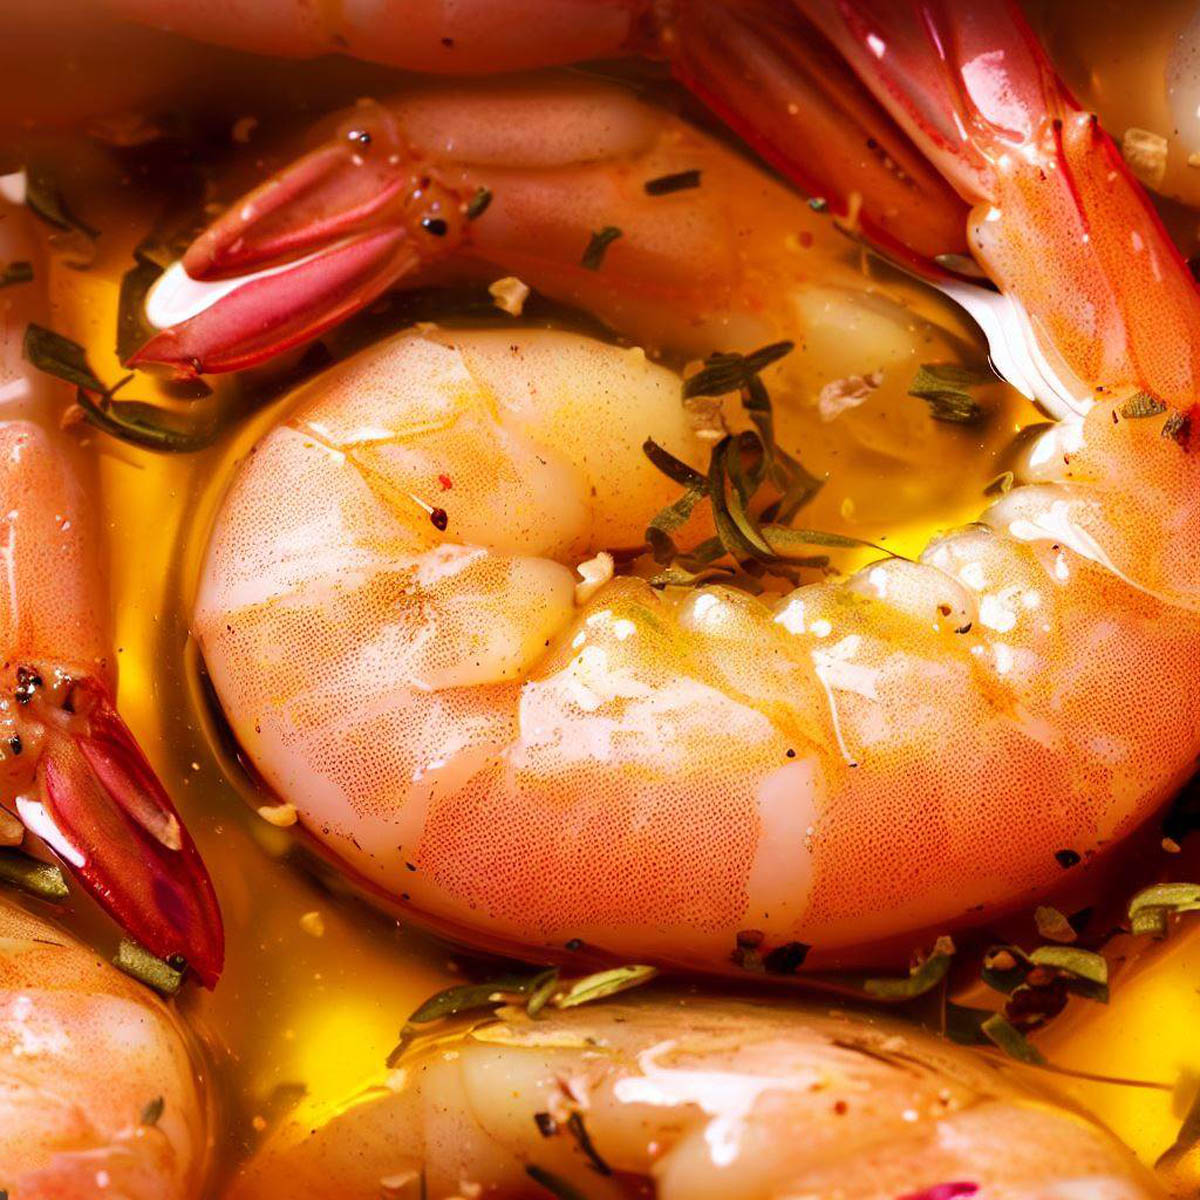
- Whip Up the Marinade: Now let’s create the flavor bath for our shrimps. Mix your marinade ingredients in a bowl. Make sure everything is well combined. Oh, the aroma!
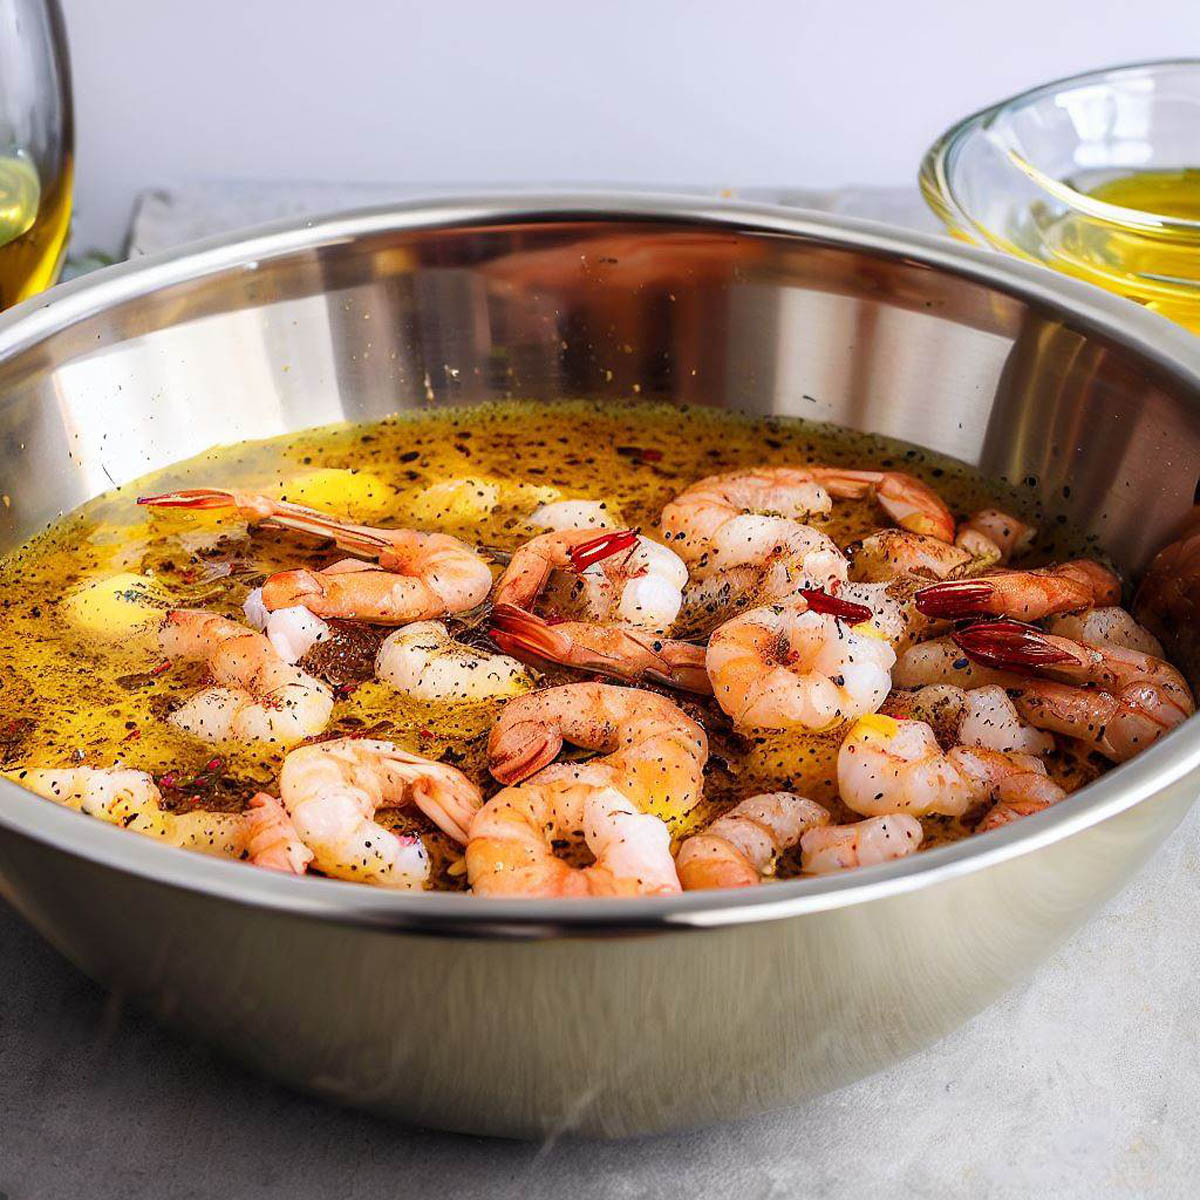
- Marinate the Shrimp: It’s spa time for the shrimp! Add them to the marinade, ensuring they’re all covered. Let them soak up the goodness for at least 20 minutes. But if you can wait, two hours would be a shrimp dream come true.
- Skewer the Shrimp: Now, grab those pre-soaked skewers (you did remember to soak them, right?). Thread the shrimp onto the skewers. It’s like making a shrimp-kebab. Yum!
Cooking Instructions
- Preheat Your Grill: Fire up that grill! Aim for a medium-high temperature, around 400°F. Let it heat thoroughly for even cooking. Your shrimp deserves the best, after all.
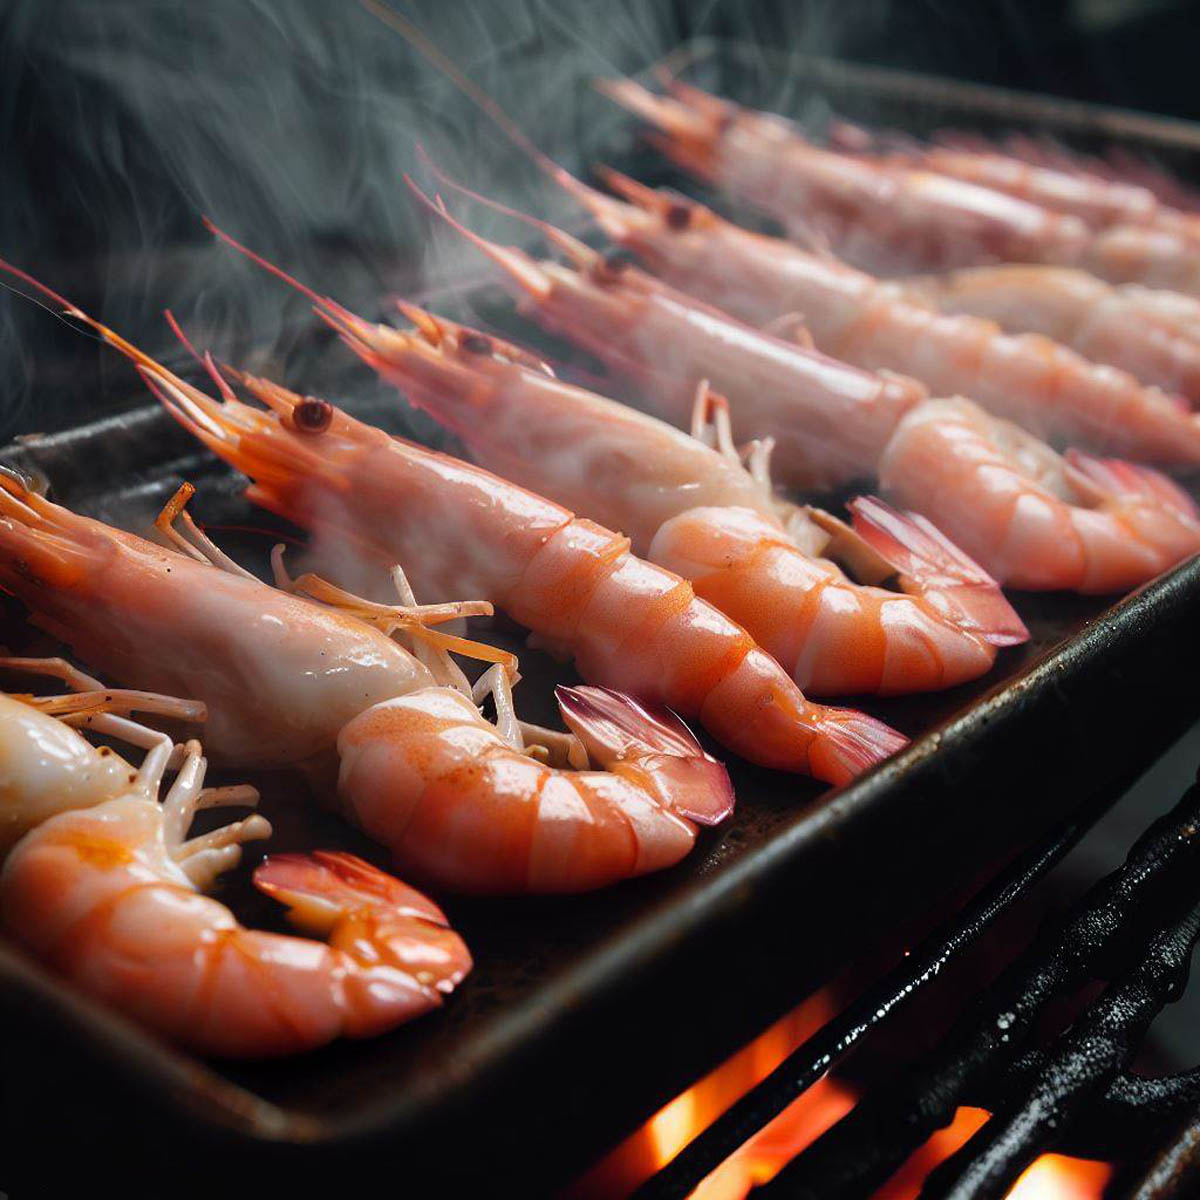
- Grill Your Shrimp: Now the fun part! Arrange your shrimp skewers on the grill. It’s time for them to get that irresistible char. Make sure to bring them to room temperature before grilling. Always put them on the grill or pan in a single layer.
- Flip and Cook: After 2-3 minutes, flip your shrimp. You’re looking for a pink color and a slightly charred exterior. We’re almost there!
- Check for Doneness: To check if your shrimp are done, cut into one. It should be opaque throughout. No transparency means it’s ready. If it’s still translucent, it needs a bit more time on the grill.
- Serve and Enjoy: Once your shrimp is grilled to perfection, it’s time to serve. Pair it with your chosen sides, garnish with some lemon wedges and enjoy. There’s nothing better than a dish you’ve made yourself, right?
Expert Tips
- Marination Time: Let’s talk marination. It’s not just a waiting game; it’s when your shrimp absorbs all those fantastic flavors from our marinade. The golden rule? Minimum of 20 minutes, but if you have time, aim for 2 hours. More marinating time equals more flavor. Tempting, isn’t it?
- Grilling Duration: Shrimps are small but quick to cook. They require just a brief 2-3 minutes per side on the grill. Keep your watch nearby and avoid overcooking – unless chewy shrimp is your thing (we hope not)! Keeping an eye on the timer is essential for your succulent shrimp.
- Grilling Temperature: The heat of your grill is crucial for perfect shrimp. Aim for a medium-high heat of about 400°F. Too hot, and your shrimp may char before they’re cooked inside. Too cold, and they might dry out. Balance is key, dear grill master! A consistent temperature equals consistent results!
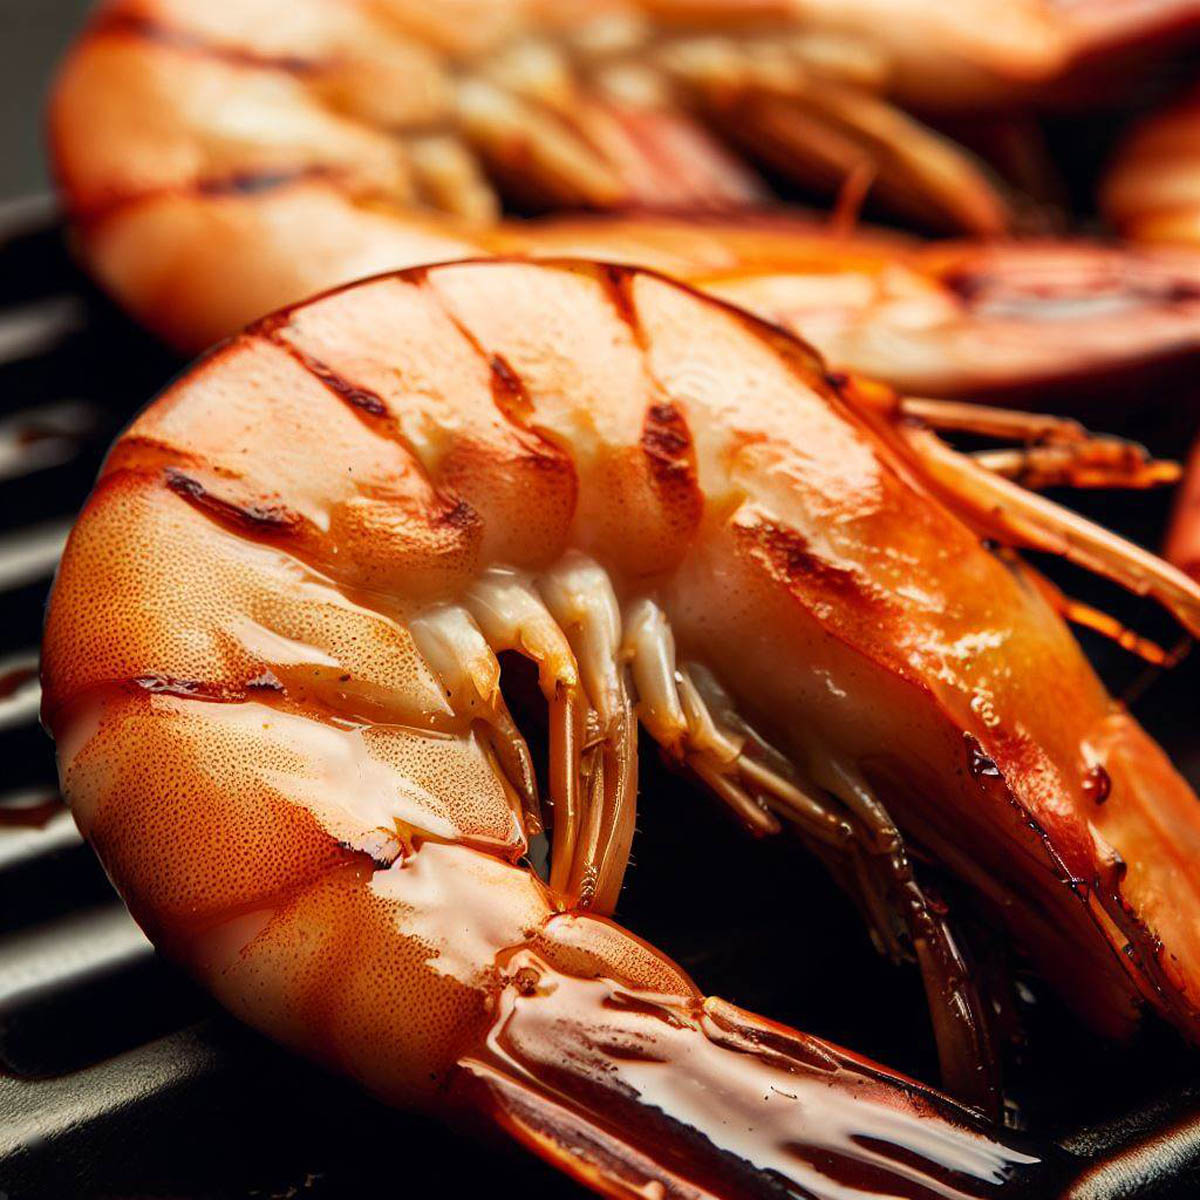
- Size of Shrimp: Size matters here! Larger shrimp will hold up better on the grill, giving you those perfectly charred edges without becoming overcooked.
- Best Type of Shrimp: The best type of shrimp for grilling are the large or jumbo varieties. They’re easier to handle and they grill beautifully, becoming plump and juicy. If possible, go for fresh shrimp over frozen for the best results.
- Shrimp Tails: Wondering about those little tails? They’re not just for show (well, maybe a little). They give the shrimp a fancy appearance and a natural handle for your guests to hold. So, keep those tails on for a bit of culinary flair.
- Skewer Soaking: Soaking your wooden skewers might seem unimportant, but it’s a little trick that prevents them from burning on the grill. So, submerge those skewers in water for at least 30 minutes before grilling. No one wants a side of charred wood with their shrimp, right?
- Serving Size: Wondering how much shrimp per person? A good rule of thumb is ¼ to ½ pound.
- Lemon Pepper Butter: While your shrimp are marinating, let’s prepare the lemon pepper butter. In a small bowl, combine 1/2 cup of softened butter, 1 teaspoon of lemon zest, and 1/4 teaspoon of black pepper. Mix until well combined. This butter will add an extra layer of flavor to our grilled shrimp.
- Garlic Butter: Don’t forget about our garlic butter! In a separate bowl, combine 1/2 cup of melted butter with 1 teaspoon of minced garlic. You can brush this on our shrimp during the grilling process for that succulent, mouth-watering finish.”
- Lime Juice: For a unique flavor twist, you can substitute the fresh lemon juice in the marinade with lime juice. Lime gives the shrimp a slightly different tang that pairs wonderfully with the smoky flavor from the grill.
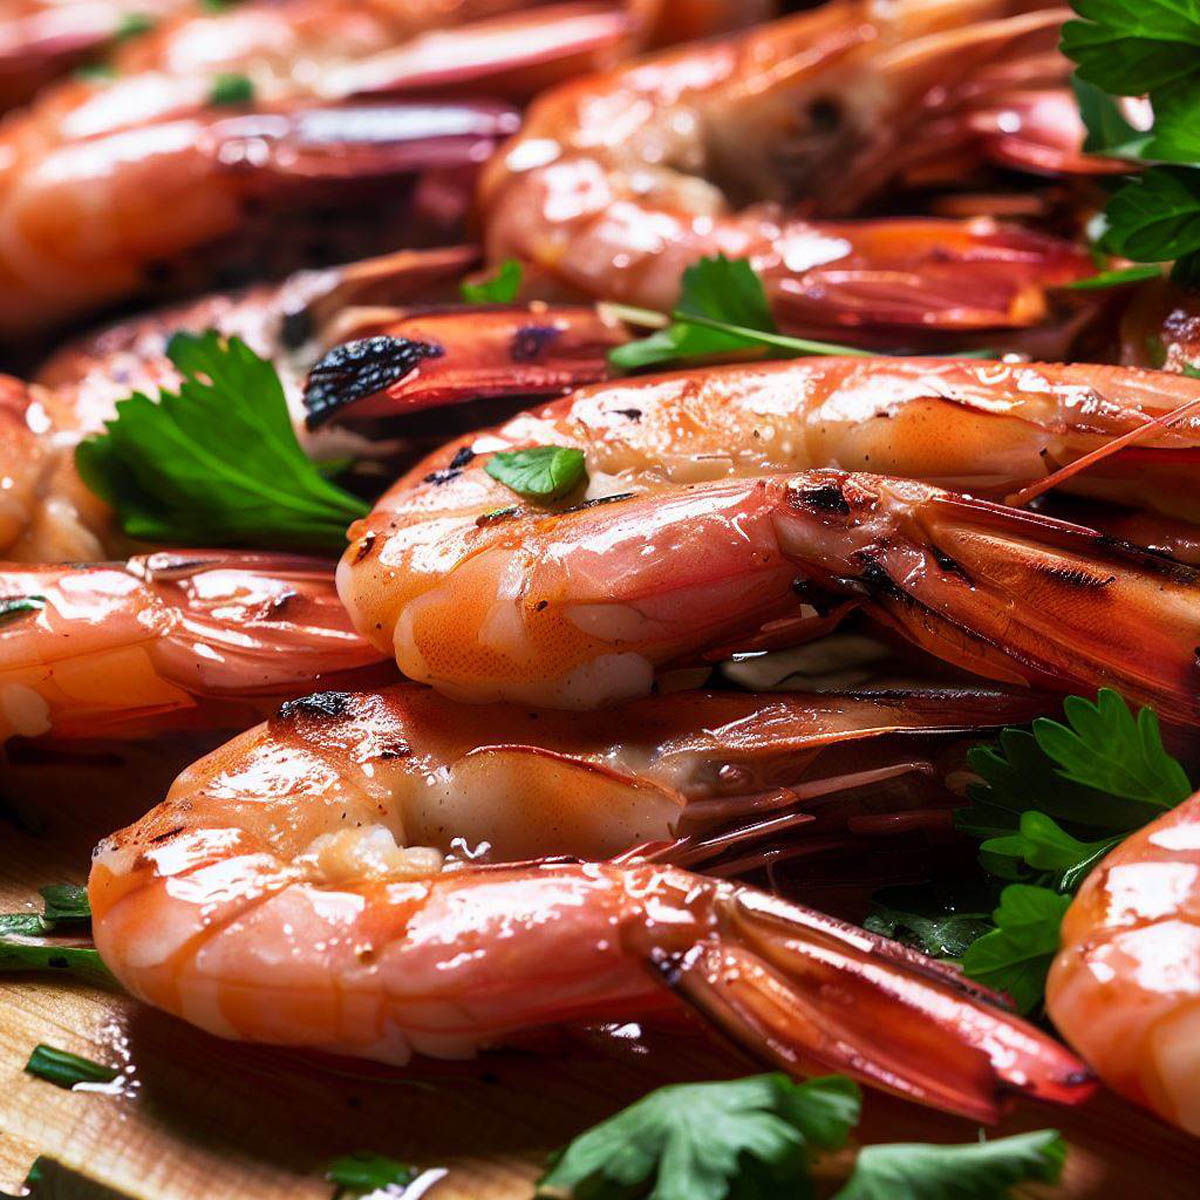
- Melted butter: Brush the shrimp with melted garlic butter as they cook, allowing the butter to pool into the crevices of the shrimp. This imparts a rich, delicious flavor to the shrimp and keeps them juicy.
FAQs
How much grilled shrimp per person?
Planning a shrimp feast? You’ll need about ¼ to ½ pound of shrimp per person. Now, that’s what I call a good shrimp-to-human ratio!
Is restaurant shrimp healthy?
Well, yes, in moderation. But homemade? Even better, friend! You have complete control over the ingredients and preparation. Now that’s healthy and satisfying!
Why do restaurants cook shrimp with tails on?
It’s all about that visual appeal! Tails offer a fancy look and a natural handle for nibbling. So, tail on or off is your call, but for an authentic restaurant feel, we say leave them on!
Do you wash shrimp before cooking?
Absolutely! Rinse your shrimp under cold water and pat dry before cooking. It helps clean any residual grit. After all, cleanliness is next to shrimpy-ness!
What happens if you don’t rinse shrimp?
Not rinsing shrimp can lead to a muddy or gritty taste in your dish. It can also increase the risk of foodborne illness if the shrimp isn’t cleaned properly.
Why does lemon cook shrimp?
Let’s get science-y! Lemon juice can ‘cook’ shrimp thanks to a process called ‘denaturation.’ The acid in the lemon changes the protein structure in the shrimp, much like heat does. Isn’t science tasty?
How many ounces is the grilled shrimp at Texas Roadhouse?
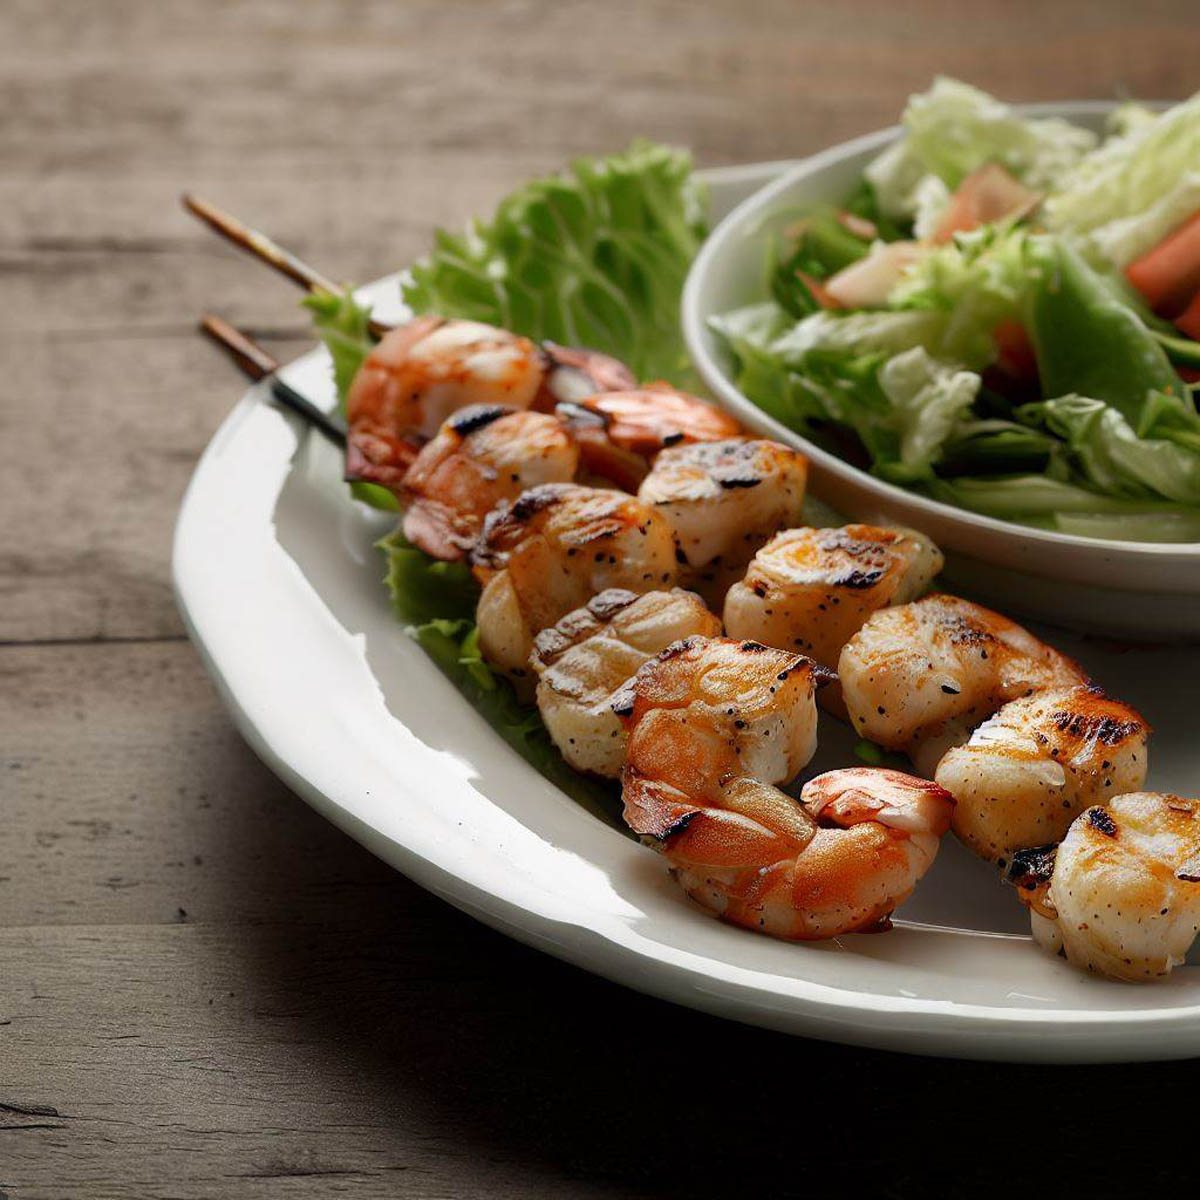
A skewer weighs approximately 4 ounces. Yes, we’ve weighed it! But remember, the joy is in the flavor, not the weight!
How long should I marinate the shrimp?
The longer, the better, but at least 20 minutes should do the trick.
What happens if I overcook the shrimp?
They can become tough and chewy, so keep a close eye on them.
What temperature should I grill the shrimp at?
Medium-high heat, around 400°F, should do the trick.
Why should I soak the skewers?
Soaked skewers won’t catch fire on the grill. You’re aiming for grilled shrimp, not grilled skewers!
Why keep the tails on?
It adds a touch of finesse to your dish. Plus, it makes for a handy little grip when eating!
Why don’t people remove shrimp tails?
In addition to enhancing the presentation, leaving the tails on can also add more flavor to the dish as they contain juices that can seep out during cooking. However, whether or not to leave the tails on comes down to personal preference and the specifics of the dish.
Is it OK to eat the tails of shrimp?
While shrimp tails can be eaten and are often consumed in many cultures, they’re usually left uneaten for the sake of texture as they can be quite crunchy. If you do eat them, ensure they’ve been cooked properly.
What is the best shrimp in the world?
Many seafood enthusiasts swear by the unique flavor and texture of wild-caught Gulf shrimp. However, the “best” shrimp can often come down to personal preference, preparation, and freshness.
Serving Suggestions
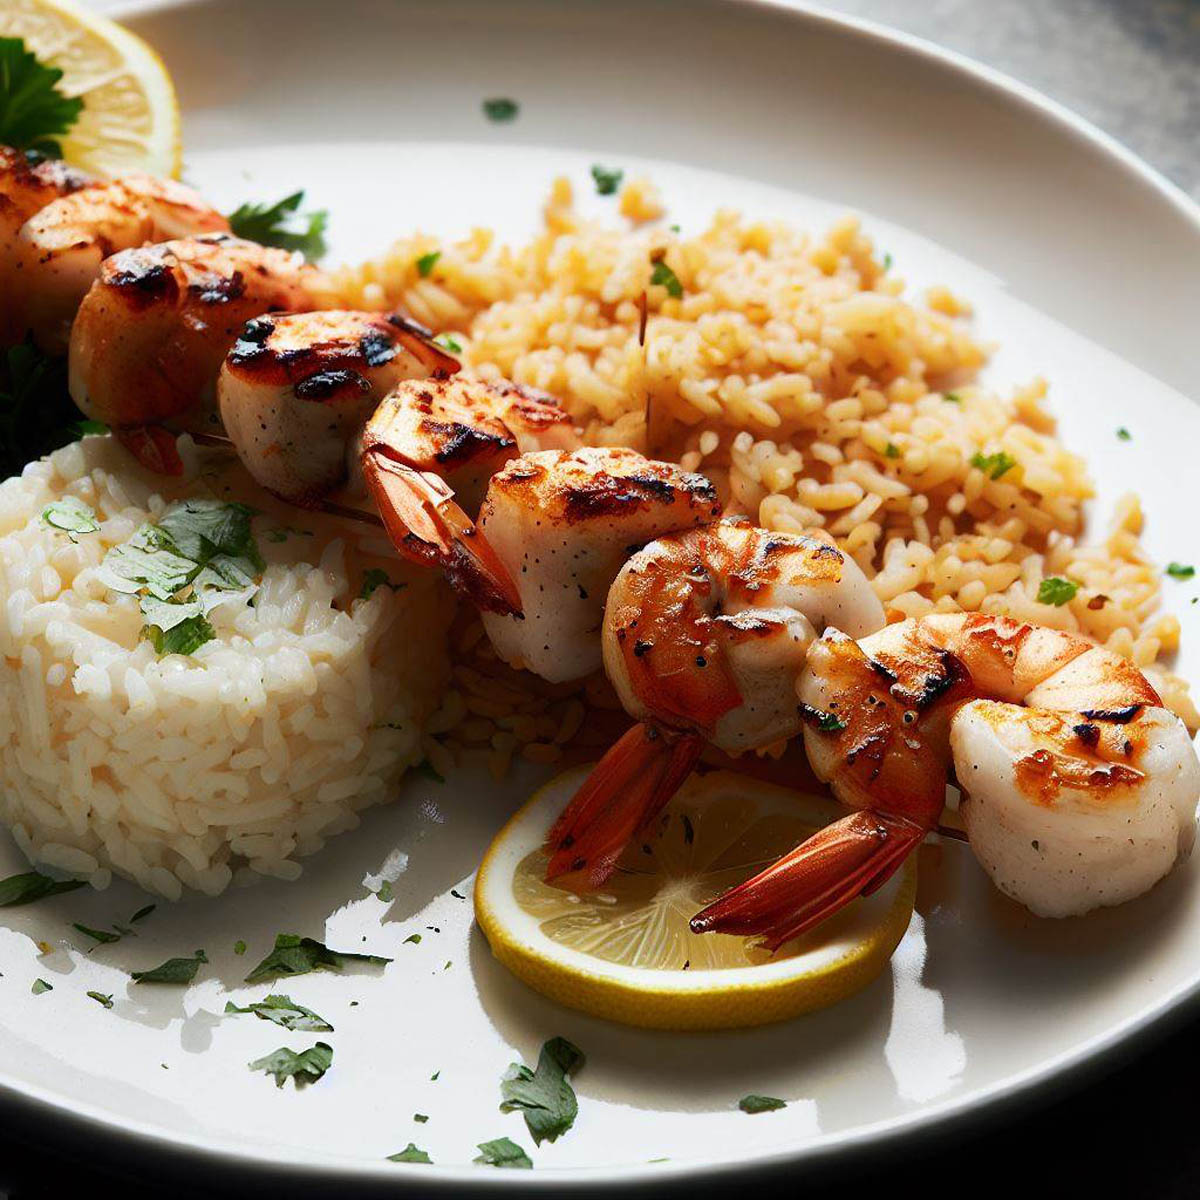
- With Seasoned Rice: Give your shrimp a companion by pairing it with Texas Copycat Seasoned Rice. This dynamic duo will rock your taste buds and make your meal more satisfying.
- The Homemade Rolls Route: If you’re into baking, why not try making Texas Roadhouse Rolls at home? They’re delicious and provide a soft, fluffy contrast to the grilled shrimp.
- Caesar Salad Pairing: Looking for a light and fresh accompaniment? An Easy Caesar Salad Recipe pairs perfectly with grilled shrimp. It’s a meal fit for a king, or a queen, or just about anyone!
- Potato Lover?: If you’re more of a potato person, go for baked potatoes. Their hearty, comforting taste makes a great side dish if rice isn’t your thing. Plus, who doesn’t love potatoes, right?
Storing
Got leftover shrimp? Store them in an airtight container in the fridge for up to 3 days. Remember to remove the skewers before storing to avoid turning your fridge into a pin cushion!
Final Words
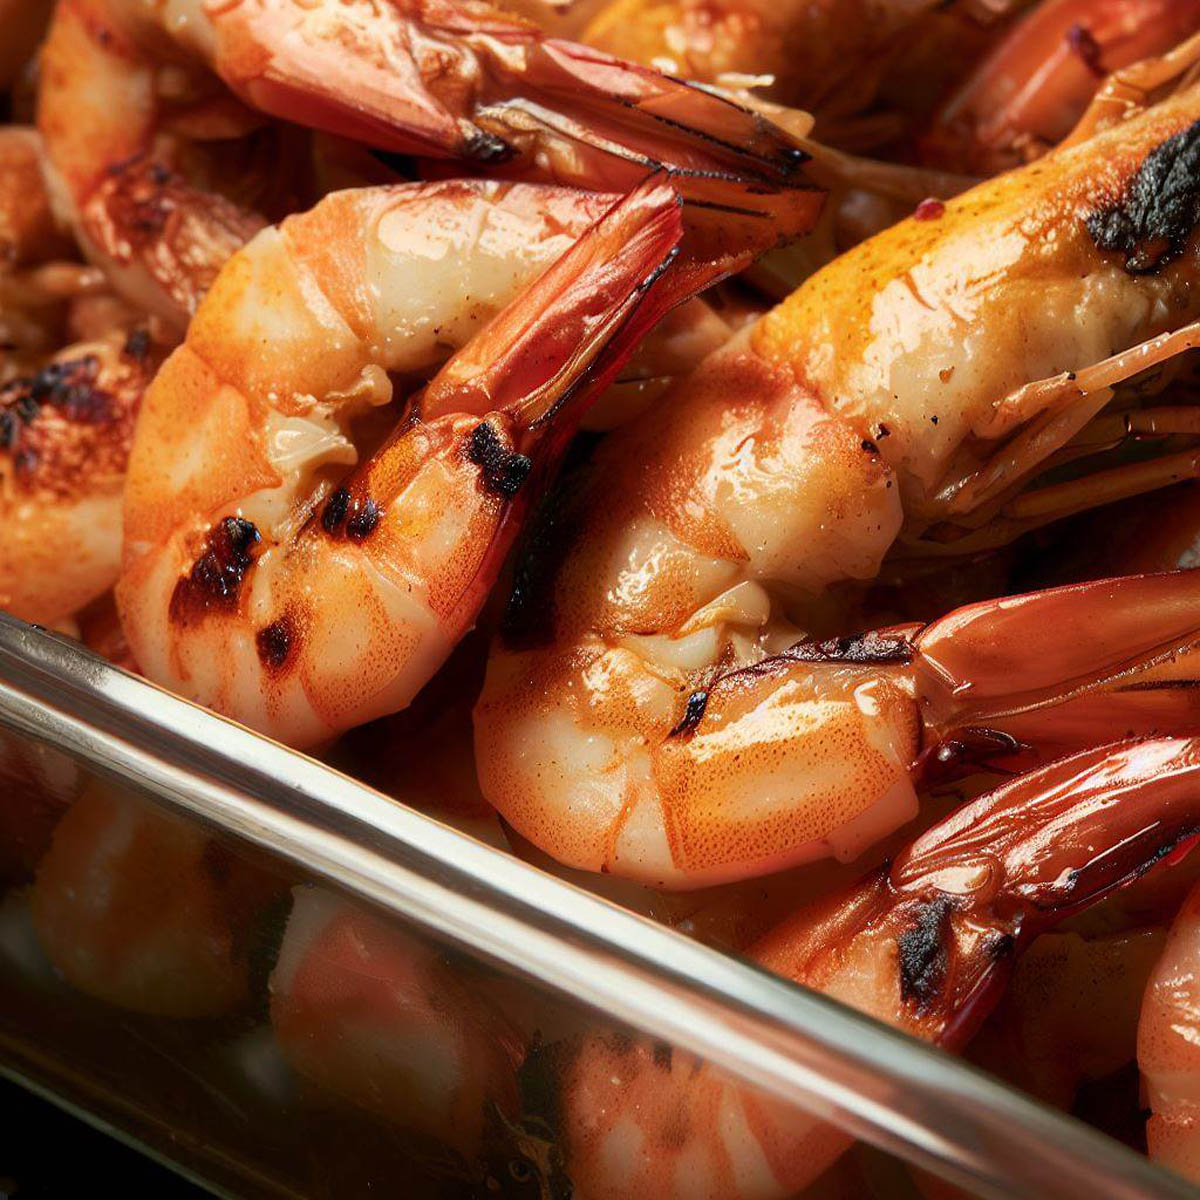
And there you have it, folks! A Texas Roadhouse classic, grilled to perfection right at home. So, put on your apron, fire up the grill, and bring a piece of Texas into your kitchen. Ready, set, grill!

Perfect Texas Roadhouse Grilled Shrimp: Copycat Recipe
Equipment
- Grill or grill pan
- Large mixing bowl
- Airtight container or Ziploc bag
- Bamboo skewers
Ingredients
- 1/2 lb fresh deveined shrimp, tails on
- 1 1/2 tbsp olive oil
- 2 tsp garlic powder
- 1/4 cup fresh lemon juice
- 1 tsp mixed herbs oregano and basil
- 1 tsp paprika powder
- 1/2 tsp onion powder
- 1 tbsp black pepper
- Salt to taste
Instructions
Preparation
- Prepare Shrimp: Start with fresh, large, deveined shrimp with the tails on. Fresh shrimp will always give a better result than frozen ones.
- Prepare Marinade: In a large bowl, mix together olive oil, garlic powder, fresh lemon juice, mixed herbs (oregano and basil), paprika powder, onion powder, black pepper, and salt to taste.
- Marinate Shrimp: Add the shrimp to the bowl with the marinade. Ensure all the shrimp are well-coated with the marinade. Let the shrimp marinate for about 30 minutes to an hour.
- Alternatively, transfer the shrimp and marinade to an airtight container or Ziploc bag. Leave to marinate for 20-30 minutes.
- Skewer Shrimp: After the shrimp have finished marinating, thread them onto the pre-soaked skewers.
Cooking
- Preheat Grill: While the shrimp are marinating, preheat your grill or grill pan to medium-high heat.
- Grill Shrimp: Place the shrimp skewers on the preheated grill. Grill for about 2-3 minutes on each side, until they are pink and opaque.
- Serve: Once cooked, remove the shrimp skewers from the grill and serve hot with your choice of sides. Enjoy your perfect Texas Roadhouse Grilled Shrimp!
Notes
- This recipe works best with large or jumbo shrimp. They grill beautifully and are easier to handle.
- For best results, allow your shrimp to marinate for at least 20-30 minutes. This allows the flavors of the marinade to penetrate the shrimp.
- Be careful not to overcook the shrimp. They should only need 2-3 minutes per side on the grill. Avoid overcooking the shrimp as they can become tough and chewy.
- The lemon pepper butter and garlic butter add an extra layer of flavor to the grilled shrimp. These can be prepared while the shrimp are marinating.
- If desired, you can substitute the fresh lemon juice in the marinade with lime juice for a unique flavor twist.
- Be sure to serve the grilled shrimp with the prepared lemon pepper butter for a true Texas Roadhouse experience!
- While the shrimp are grilling, you can brush them with garlic butter. This gives an extra layer of taste.

